6 DIY Christmas Candle Ideas to Add a Cozy Glow
Advertisements
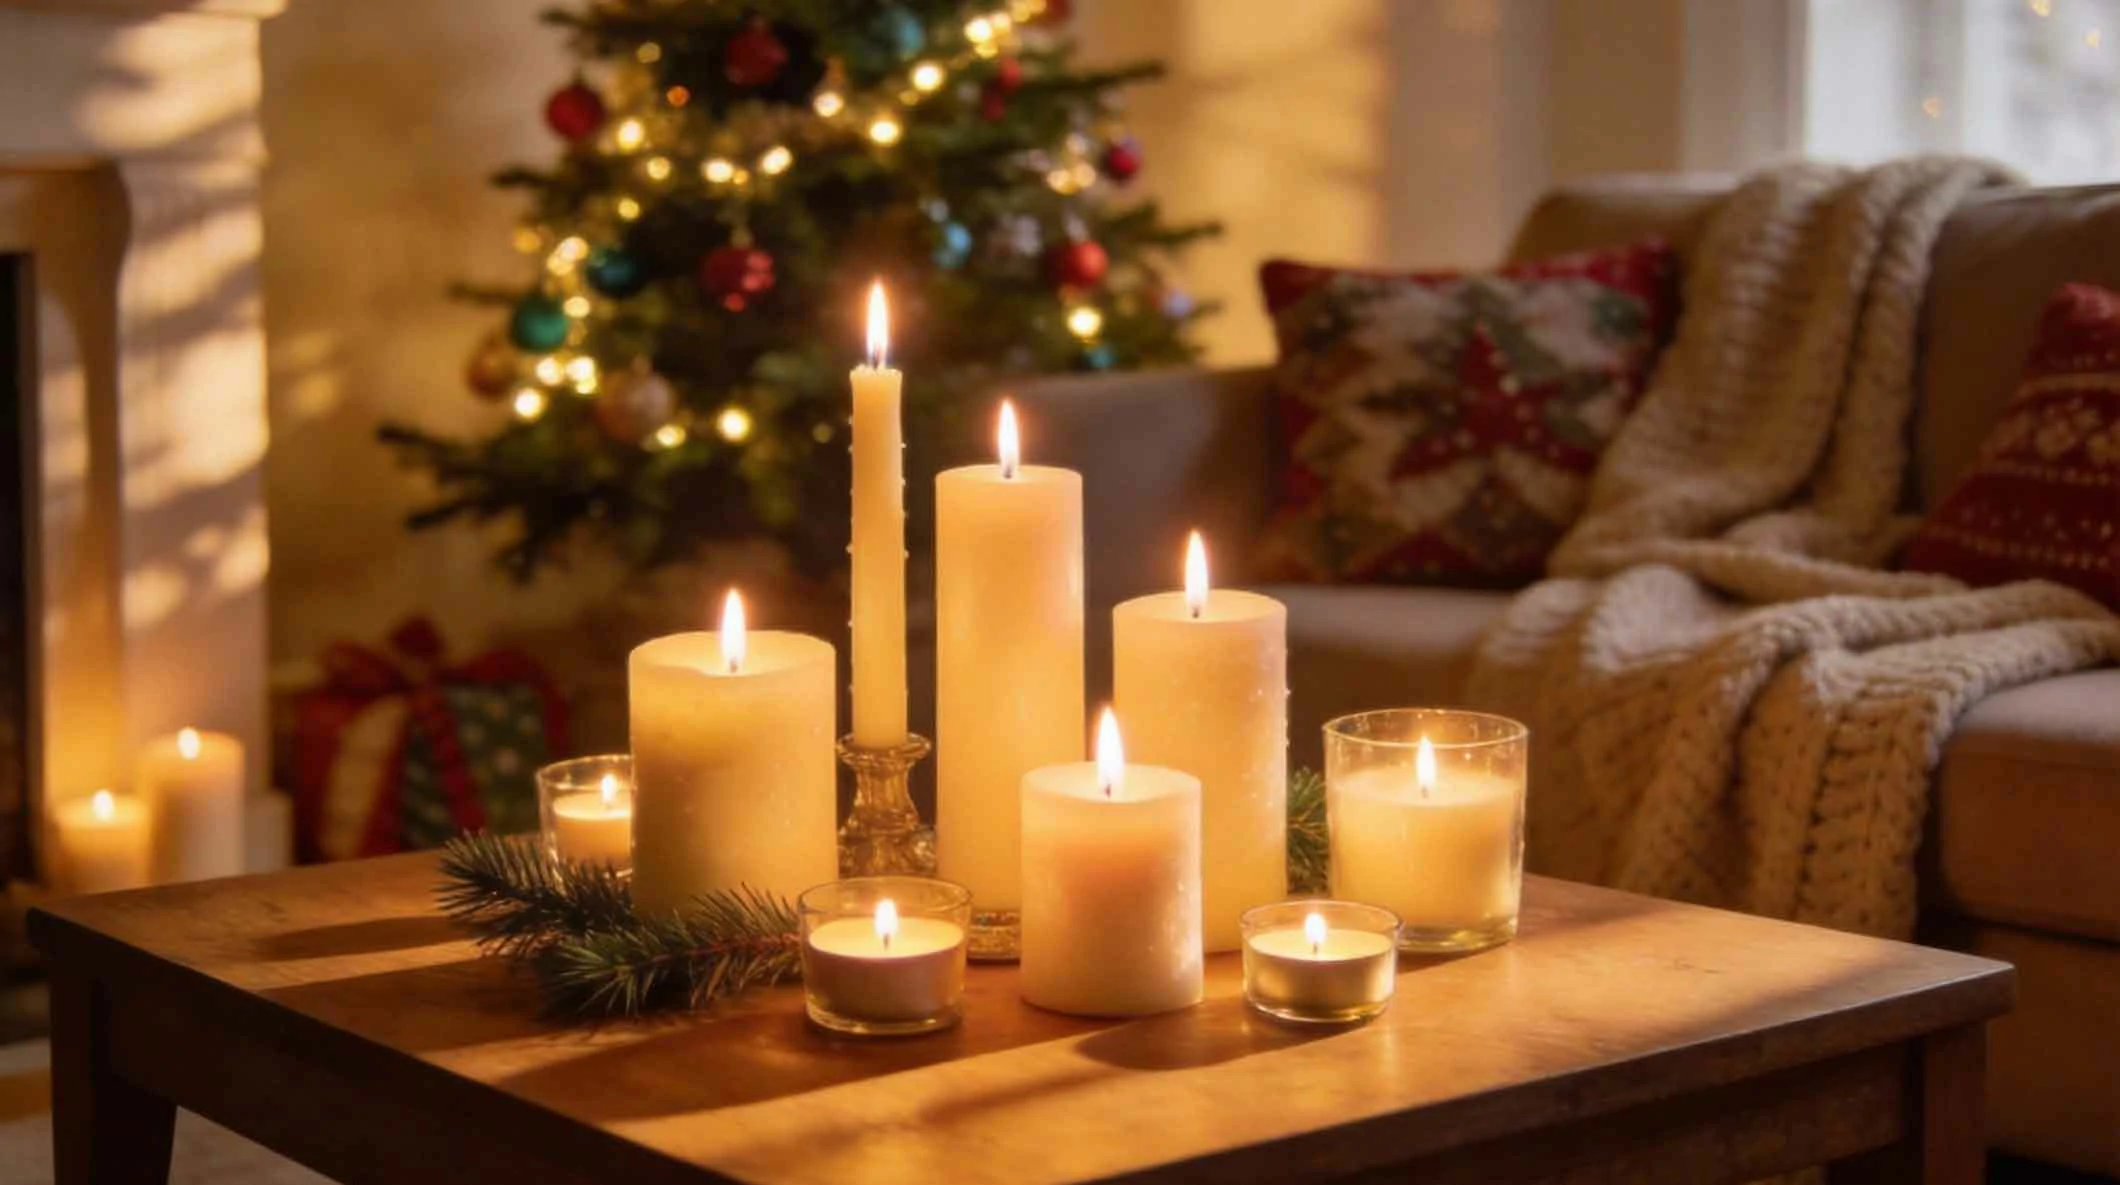
The soft, flickering light of a candle is synonymous with the cozy warmth of the Christmas season. While store-bought candles are readily available, creating your own adds a deeply personal and festive touch to your holiday decor. Not only are DIY Christmas candles a wonderful way to express creativity, but they also make heartfelt, handmade gifts for friends and family. This guide will walk you through six beautiful and achievable DIY Christmas candle projects, ranging from simple jar candles to elegant dipped tapers. Each idea uses accessible materials and techniques to help you infuse your home with a handmade, glowing charm.
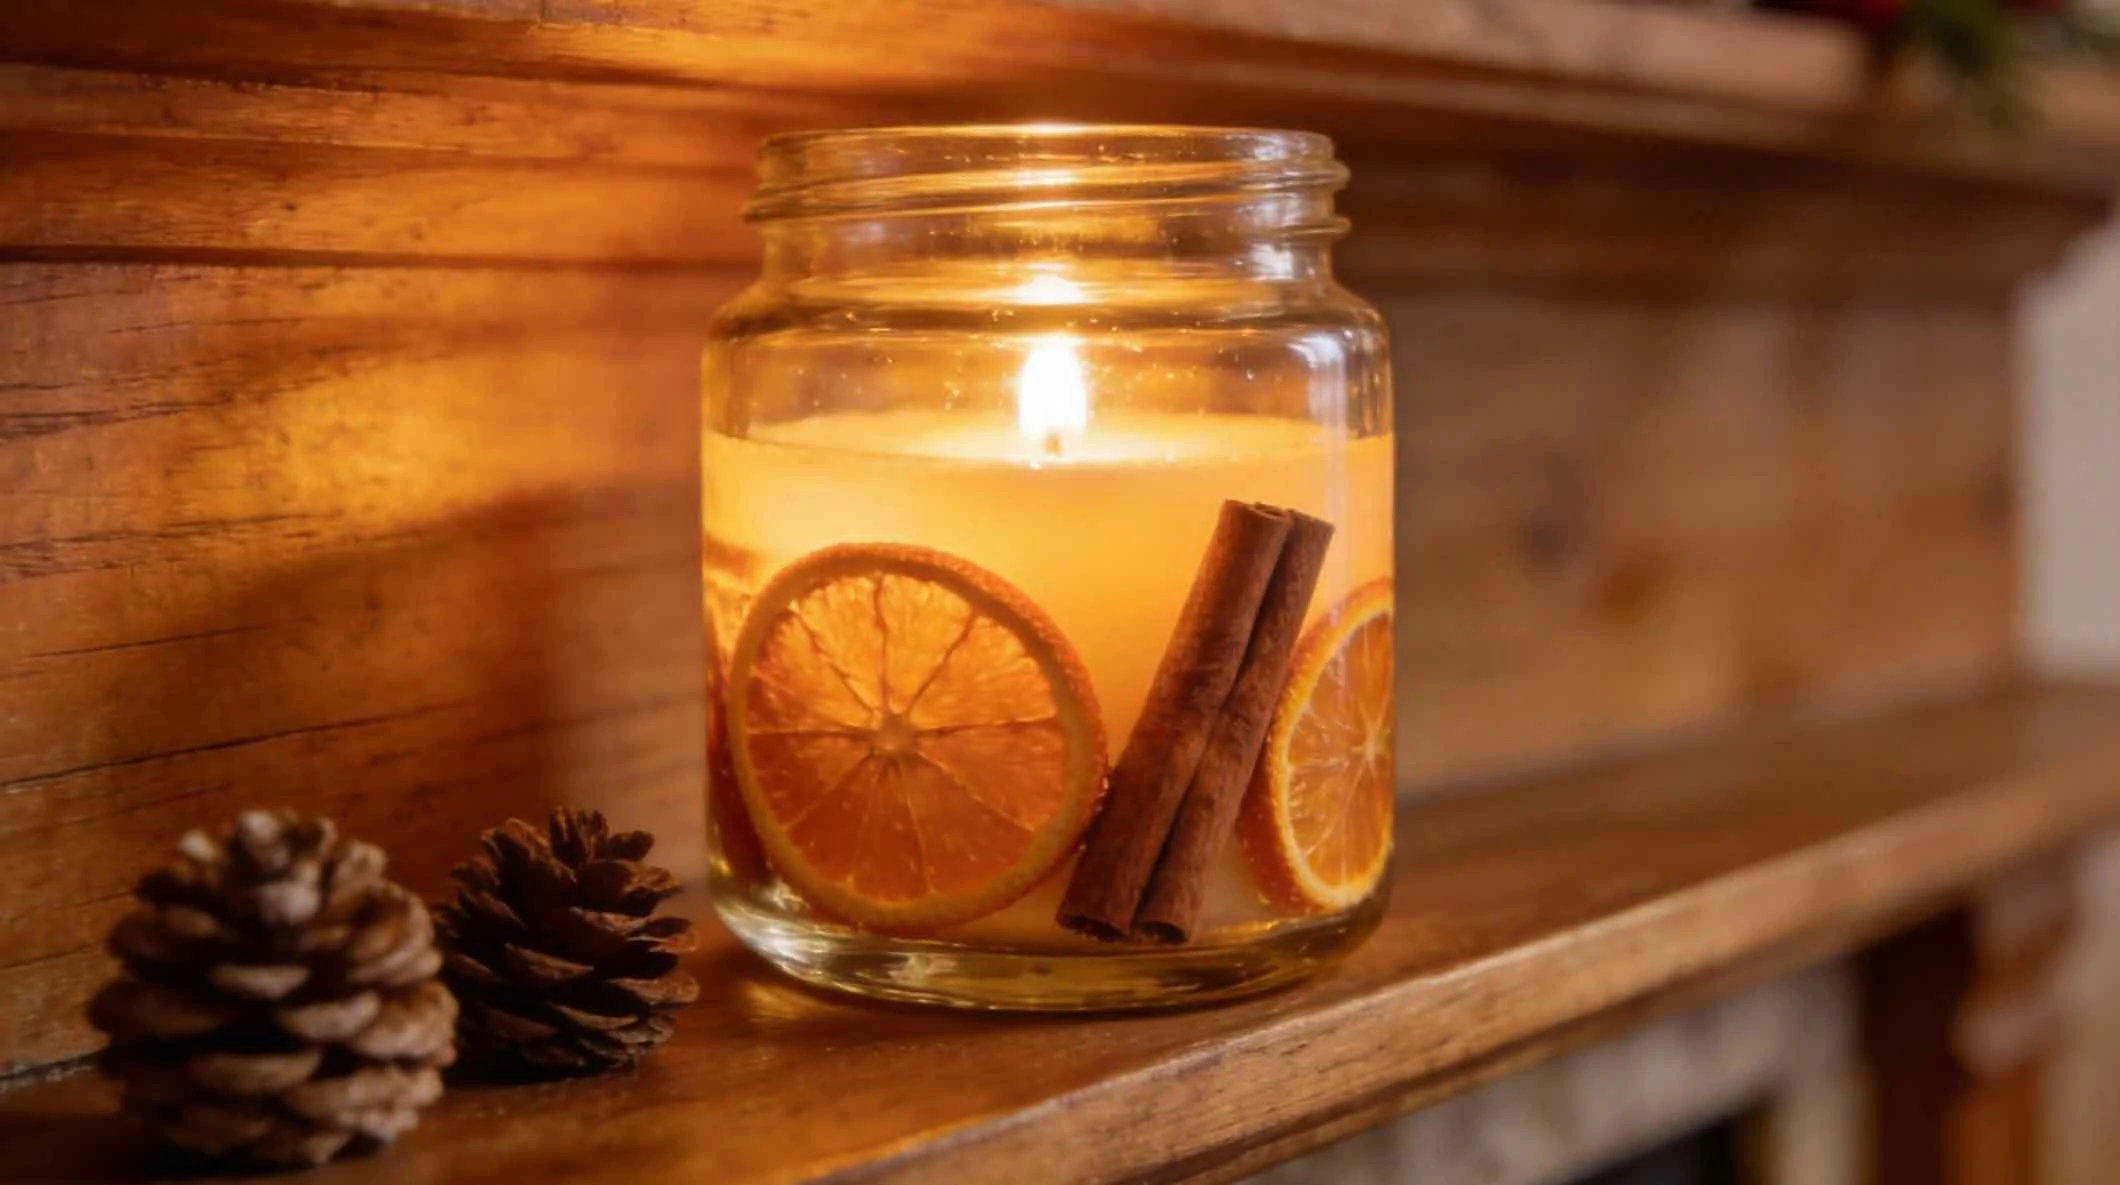
1. The Classic Cinnamon & Orange Jar Candle
This project embodies the quintessential scents of Christmas: warm cinnamon and zesty citrus. It's incredibly simple to make yet looks and smells spectacular, perfect for placing on a mantelpiece or dining table.
1. Materials Needed
You will require a clean, heat-resistant glass jar or tumbler, soy or paraffin wax flakes, a pre-waxed candle wick with a metal sustainer, cinnamon sticks, dried orange slices, a saucepan and pouring jug (or a double boiler), a thermometer, and essential oils like orange or cinnamon bark (optional for enhanced fragrance).
2. Step-by-Step Instructions
First, secure the wick to the bottom center of the jar using a dot of hot glue. Arrange the dried orange slices and cinnamon sticks against the inside wall of the jar. Melt the wax in your double boiler, monitoring the temperature until it reaches about 185°F (85°C). If using, stir in 10-15 drops of essential oil. Carefully pour the melted wax into the jar, avoiding the decorations. As the wax begins to set (forming a thin skin), you can gently press any floating decorations back into place. Allow the candle to cool and solidify completely for at least 24 hours before trimming the wick to 1/4 inch and lighting.
3. Tips for Success
Ensure your orange slices are thoroughly dried to prevent moisture from causing issues with the wax. For a stronger cinnamon scent, you can lightly crush a few cinnamon sticks before adding them to the wax melt. Always supervise burning candles, especially those with embedded decorations.
Advertisements
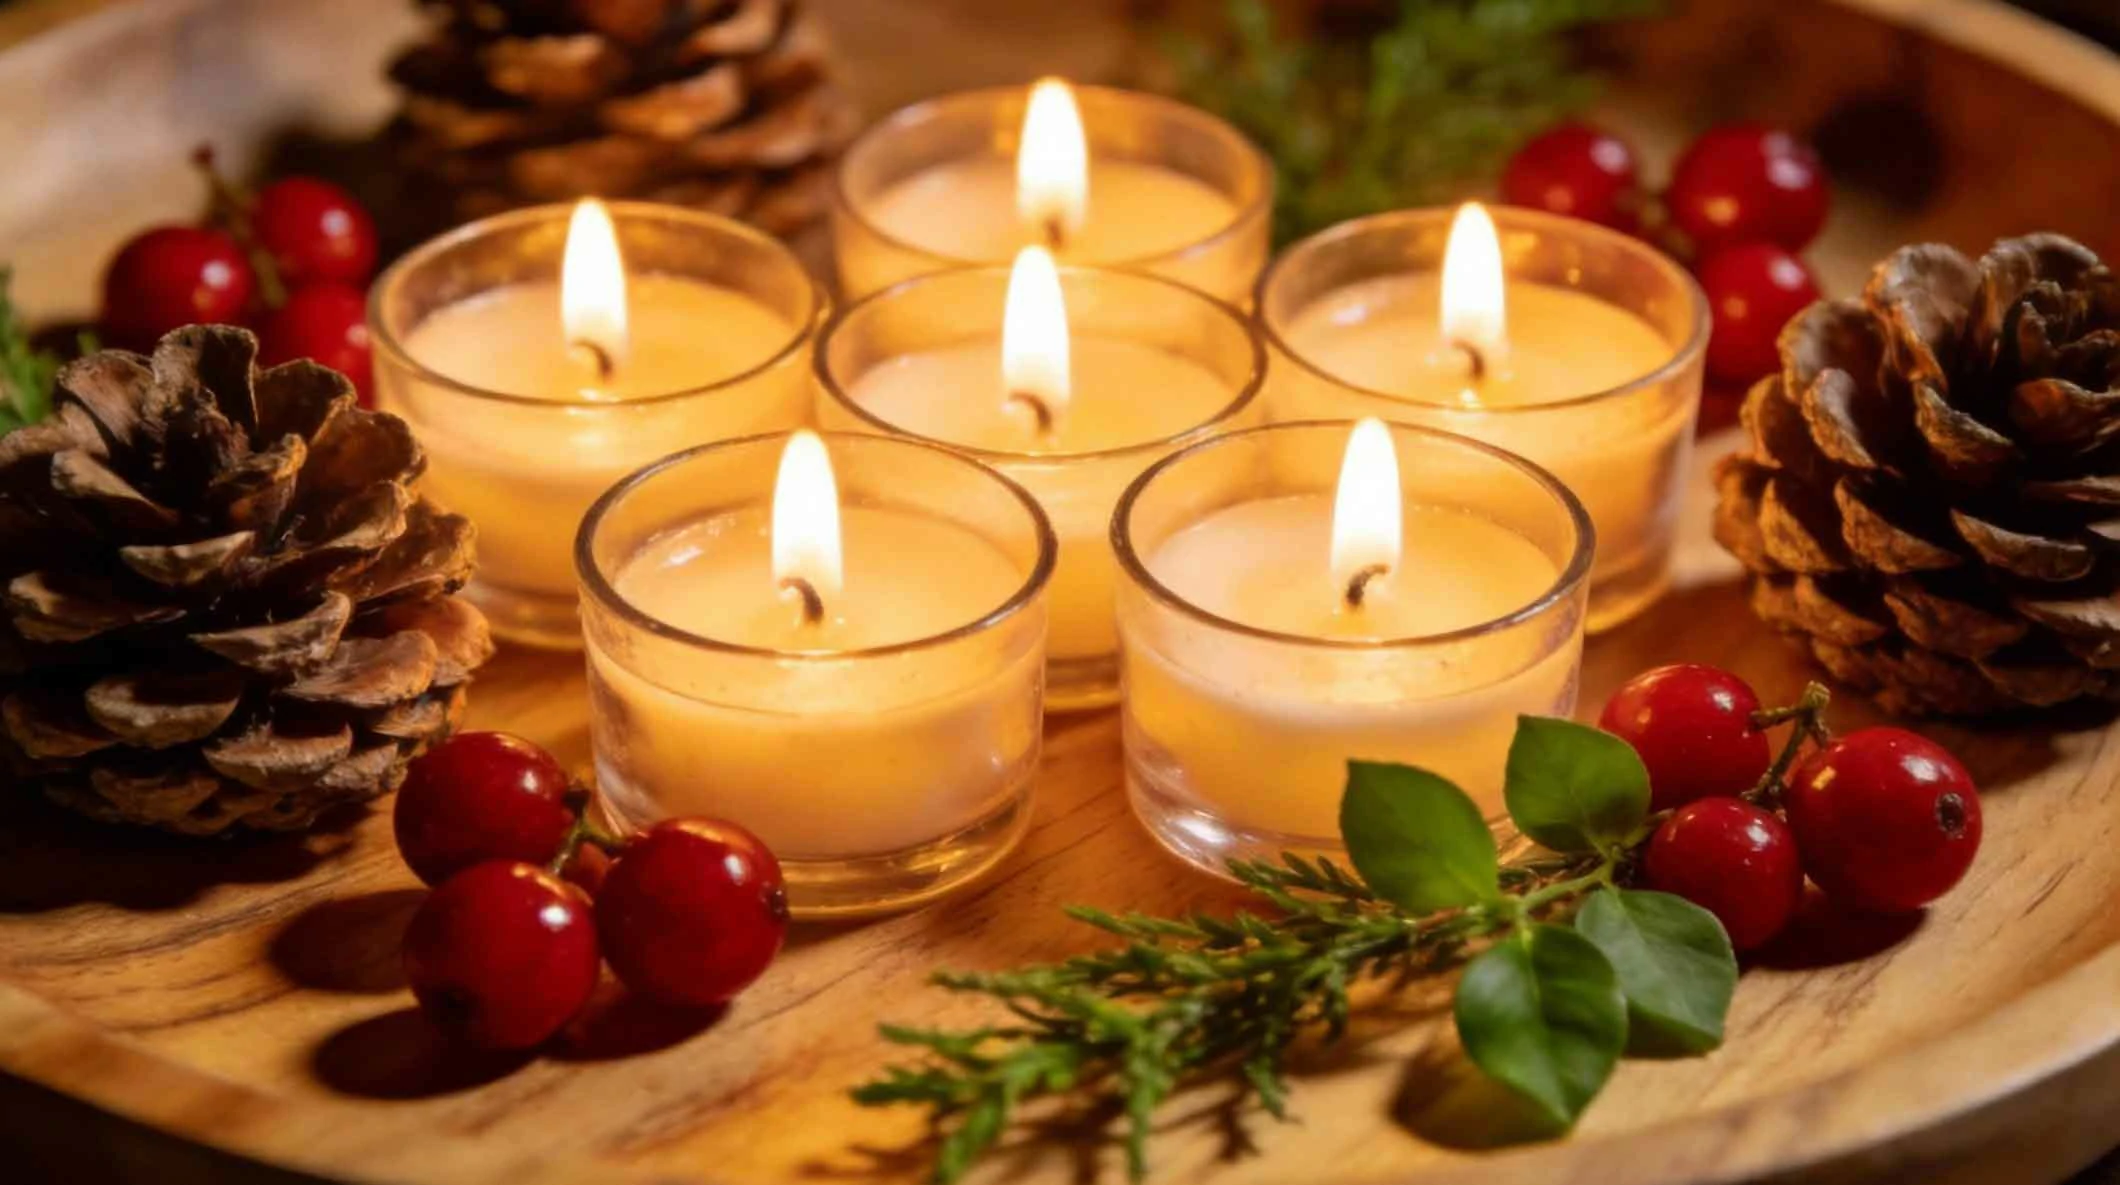
2. Fragrant Pinecone & Berry Votive Cluster
Create a stunning natural centerpiece by grouping handmade votive candles nestled among pinecones and berries. This idea brings the enchanting aroma and beauty of a winter forest indoors.
1. Materials Needed
Gather small votive molds or glasses, wax, wicks, small pinecones, artificial or dried red berries (like faux holly or pepperberries), small sprigs of faux greenery, and gold or silver spray paint (optional for a festive touch on the pinecones).
2. Step-by-Step Instructions
If desired, lightly spray paint the tips of the pinecones for a frosty or gilded effect and let them dry. Prepare your votive candles by melting wax and pouring it into the molds with secured wicks. Once the candles have fully set, remove them from the molds. On a tray or plate, arrange a bed of greenery. Place the votive candles intermittently within the greenery. Tuck the pinecones and berry sprigs artfully around and between the candles, creating a clustered, natural look. You can also drizzle a little melted wax on the pinecones to attach them to each other for a more stable arrangement.
3. Tips for Success
Use faux berries and greenery for safety, as real dried materials can be highly flammable. Keep the arrangement away from loose curtains or other flammable materials. This cluster is best used as a decorative centerpiece with candles that are lit only under supervision.
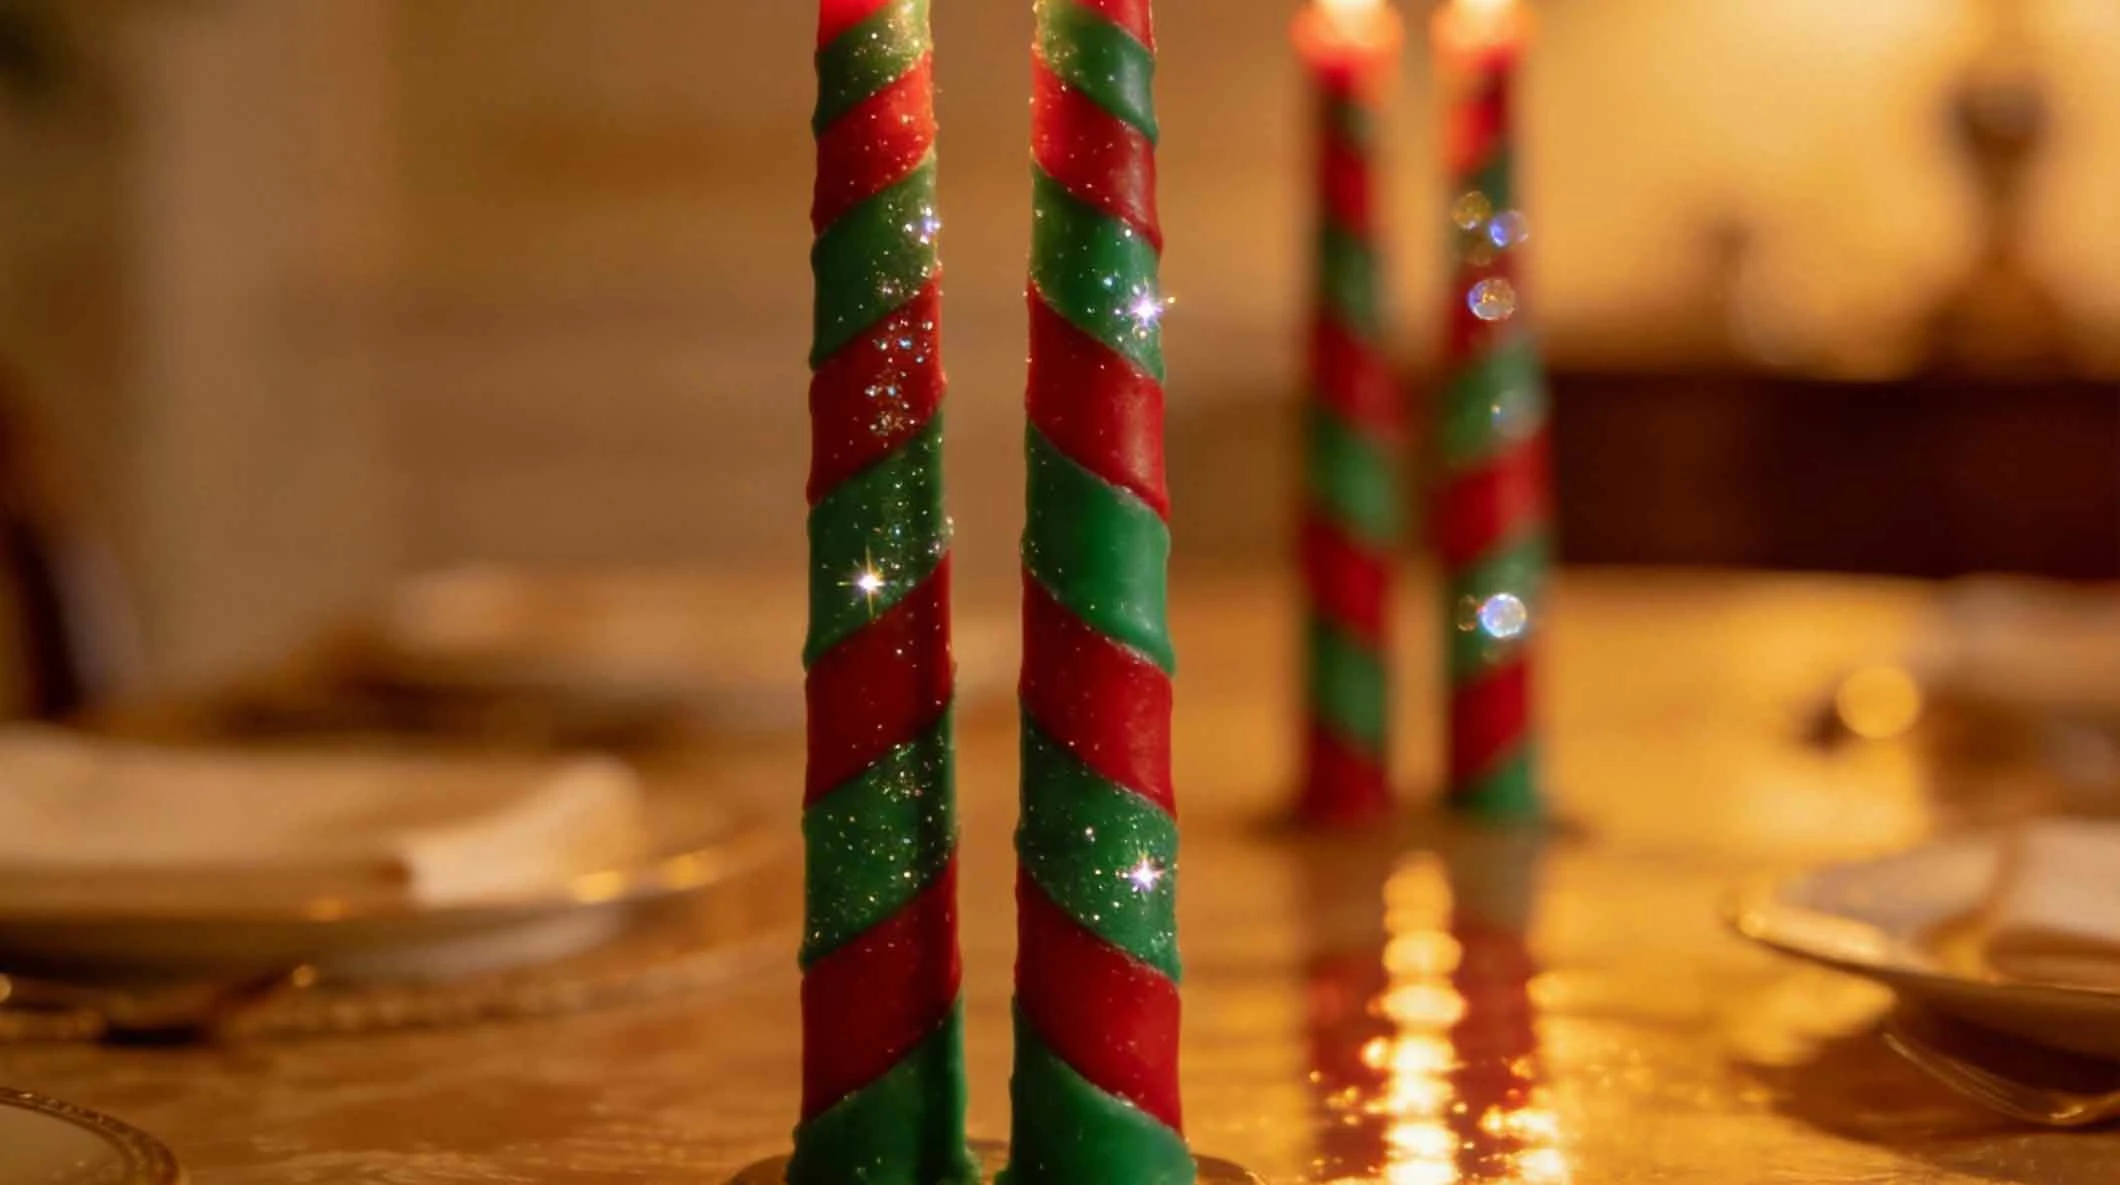
3. Hand-Dipped Taper Candles with Festive Stripes
Hand-dipping candles is a traditional craft that yields beautiful, elegant results. Adding colored wax stripes in Christmas hues transforms simple tapers into sophisticated holiday masterpieces.
1. Materials Needed
You will need a deep, tall pot for dipping, beeswax or paraffin wax, pre-primed wicking, a dipping rack or a way to suspend candles, red and green candle dye blocks or chips, and a thermometer.
2. Step-by-Step Instructions
Melt a large batch of plain wax in your pot, maintaining a temperature around 160-170°F (71-77°C). Cut your wick to twice your desired candle length plus extra for holding. Dip the wick into the wax, pull it out straight, and let it cool between dips. Repeat dozens of times, building up layers evenly until the candles reach the desired thickness. For stripes, melt small separate batches of red and green wax. Once your base candle is formed, quickly dip the bottom third into the colored wax, let it set, and then dip the top third in another color. Multiple thin dips create cleaner lines than one thick coat.
3. Tips for Success
Patience is key; allow the candle to cool completely between each dip to prevent the wax from sliding off. Keep the wax temperature consistent. Work in a draft-free area to ensure smooth, even layers. Practice on shorter candles first.
Advertisements
Advertisements
You May Have Missed

The 10 riskiest dog breeds to keep at home

My Husband Took A Trip With Another Woman.