3. The Weaving Process Step-by-Step
Advertisements
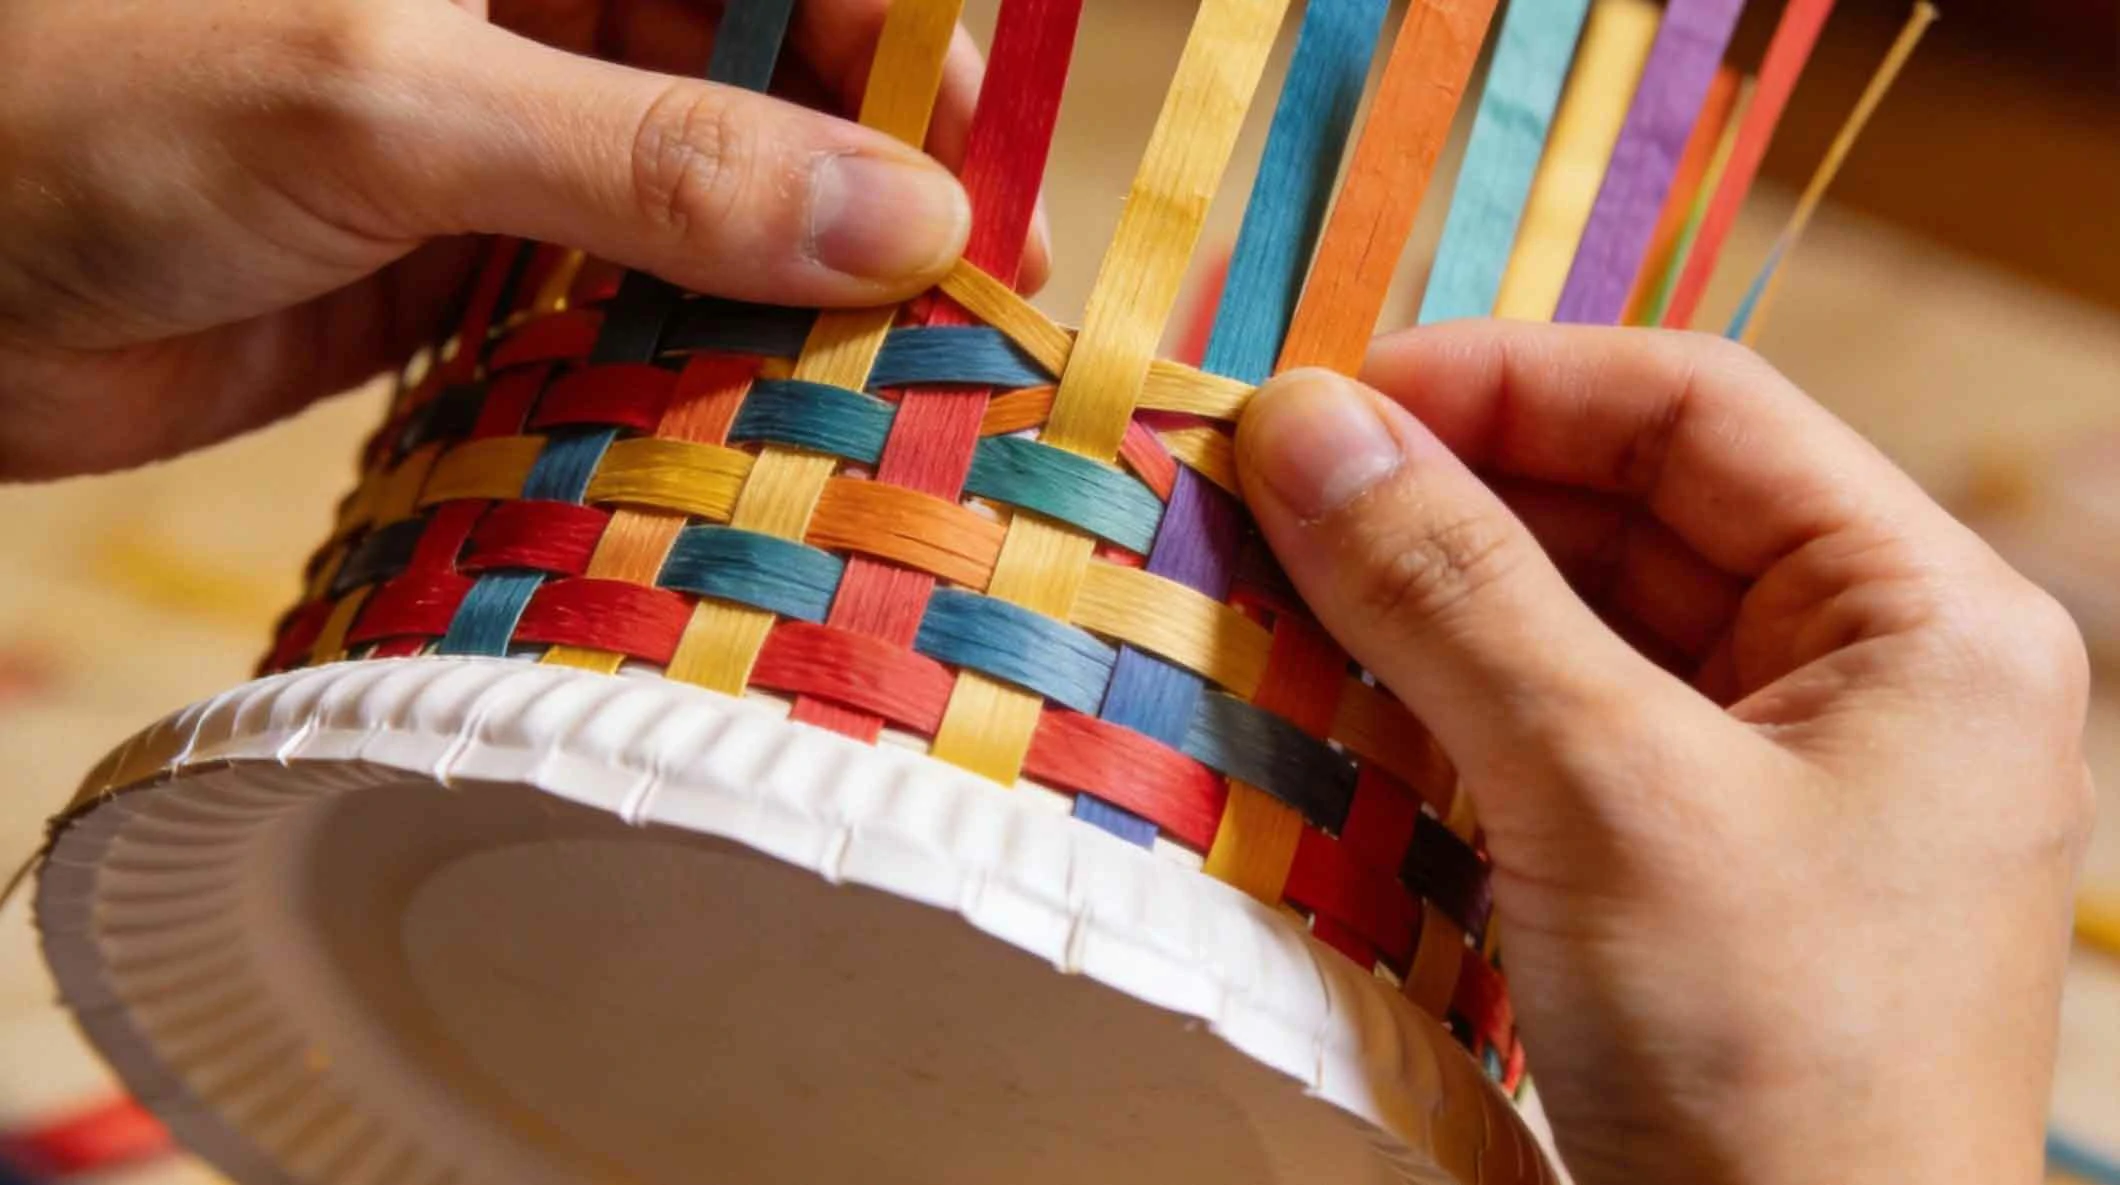
Now for the main event—the weave! This process is rhythmic and satisfying, creating the classic woven pattern that gives the basket its strength and charm.
🧺 1. Starting the First Weft Strip
Take your first weaving strip ("weft"). Weave it over and under the vertical paper plate strips, going all the way around the plate. Keep the strip close to the bottom center. When you complete the circle, overlap the ends and secure them with a piece of tape or a dab of glue on the inside.
🧺 2. Building the Basket Walls
Add your second strip. To create a checkerboard pattern, if you started the first strip by going "over" a particular plate strip, start the second strip by going "under" that same plate strip. Push this second strip snugly against the first one. Continue this process, alternating the starting pattern with each new strip, to build the woven wall upwards.
🧺 3. Securing and Finishing the Weave
As you add strips, periodically push them down tightly together to eliminate gaps. Continue weaving until you've reached about 1 inch from the top of the paper plate strips. To finish, you can fold the ends of the vertical plate strips over the last weft strip and glue or tape them down on the inside for a clean edge.
Advertisements
Advertisements
You May Have Missed

The 10 riskiest dog breeds to keep at home

Funny wedding photos make people feel sorry for the bride and groom