4. Mixing, Coloring, and Pouring the Epoxy
Advertisements
This is the transformative and most visually rewarding stage of the project. Precision and a steady hand are key.
1. Precise Epoxy Mixing
Following the manufacturer's ratio exactly (by weight, not volume), thoroughly mix the resin and hardener for the recommended time, often 3-5 minutes. Scrape the sides and bottom of the mixing container to ensure a homogenous mix. Inadequate mixing results in a tacky, uncured surface.
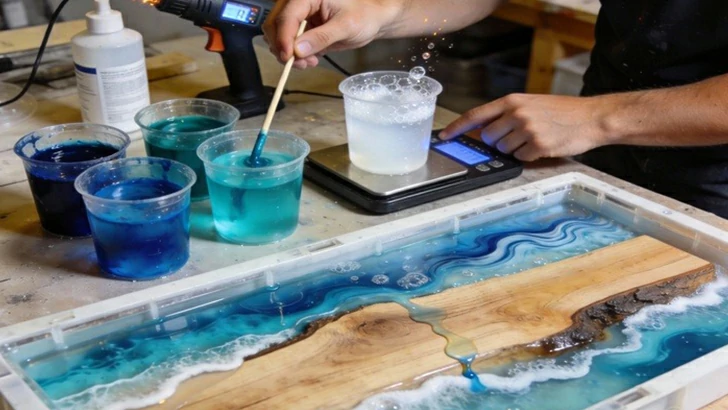
2. Creating the Ocean Color Effects
Divide the mixed epoxy into several cups. Using high-quality pigment pastes, create different shades: deep ocean blue, medium aqua teal, and a translucent white for foam and wave crests. Stir each color gently to avoid introducing excessive air. For a sandy bottom effect, you can mix fine, epoxy-safe sand into a small portion of clear or tan-colored resin.
3. The Layered Pouring Technique
Start by pouring a clear or sandy-colored layer at the bottom if desired. Then, pour your different blues and teals in sections, allowing them to blend slightly at the edges. Use a stick or gloved finger to swirl the colors minimally, creating natural-looking wave patterns. Pour the white "foam" last, drizzling it along the "shoreline" of the wood. Use a heat gun in quick passes to pop surface bubbles.
Advertisements
Advertisements
You May Have Missed

My Husband Took A Trip With Another Woman.

The truth behind grandma's fall