6. Polishing and Adding Final Details
Advertisements
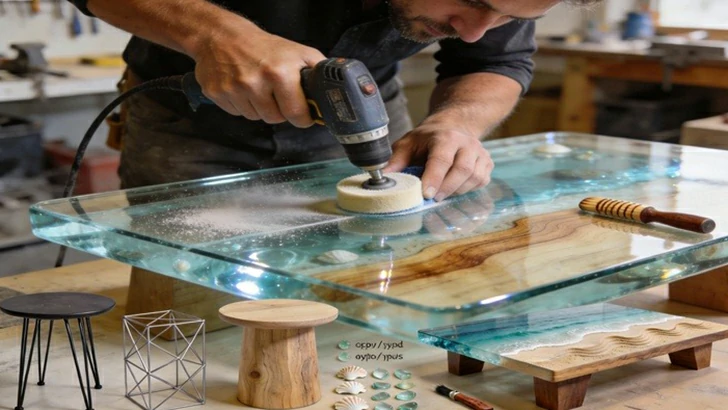
The final steps transform the hazy sanded surface into a crystal-clear, glass-like finish and add personal touches.
1. Polishing to a High-Gloss Clarity
Apply a fine polishing compound with a soft buffing pad attached to a drill or polisher. Work in small sections, applying light pressure until the compound clears the haze and a brilliant shine emerges. Follow with a final application of a food-safe wax or epoxy polish to protect the surface and enhance the gloss.
2. Attaching the Base or Legs
Choose a base that complements the beach aesthetic, such as hairpin legs, a geometric metal frame, or a natural wood base. Mark and pre-drill holes in the epoxy/wood bottom, using appropriate anchors if screwing directly into epoxy. Securely attach the base, ensuring the table sits level and stable.
3. Optional Embellishments
For a true beach feel, consider embedding small, real seashells or pieces of sea glass into a final, thin "flood coat" of epoxy on the surface before the final polish. Alternatively, use a wood-burning tool to create a subtle wave or sand dune design on the wooden "shore" area.
Advertisements
Advertisements
You May Have Missed
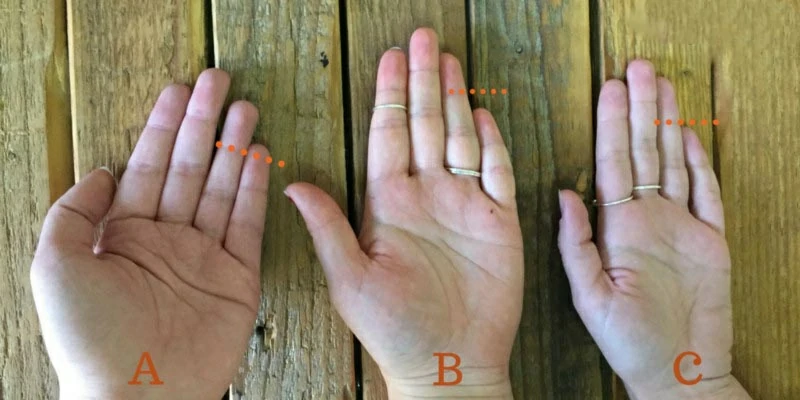
How long are your pinky and ring fingers? Finger longth reveal your personality

My Husband Took A Trip With Another Woman.