4. Customization and Advanced Features
Advertisements
Once you master the basic design, consider these upgrades to enhance functionality and aesthetics.
1. Angled Slots for Easy Viewing
Cut the divider tops at a slight angle (e.g., 10-15 degrees) so the racks lean back gently. This makes it easier to see and select the rack you need without lifting them all.
2. Integrated Handles
Cut a semi-circular notch or a large finger hole in each end panel before assembly. This creates comfortable handles for pulling the organizer out of a cabinet or carrying it.
3. Multi-Tiered Design
For a large collection, build a two-tiered organizer. This involves creating a second, smaller "box" without a top that sits inside the main box, effectively doubling the storage in the same footprint.
4. Non-Slip Base
Glue small rubber feet or a strip of non-shelf liner to the bottom of the base. This prevents the organizer from sliding on smooth countertops or shelf surfaces.
5. Practical Usage and Maintenance Tips
A well-built organizer is a long-term kitchen companion. Use and maintain it properly to ensure it lasts.
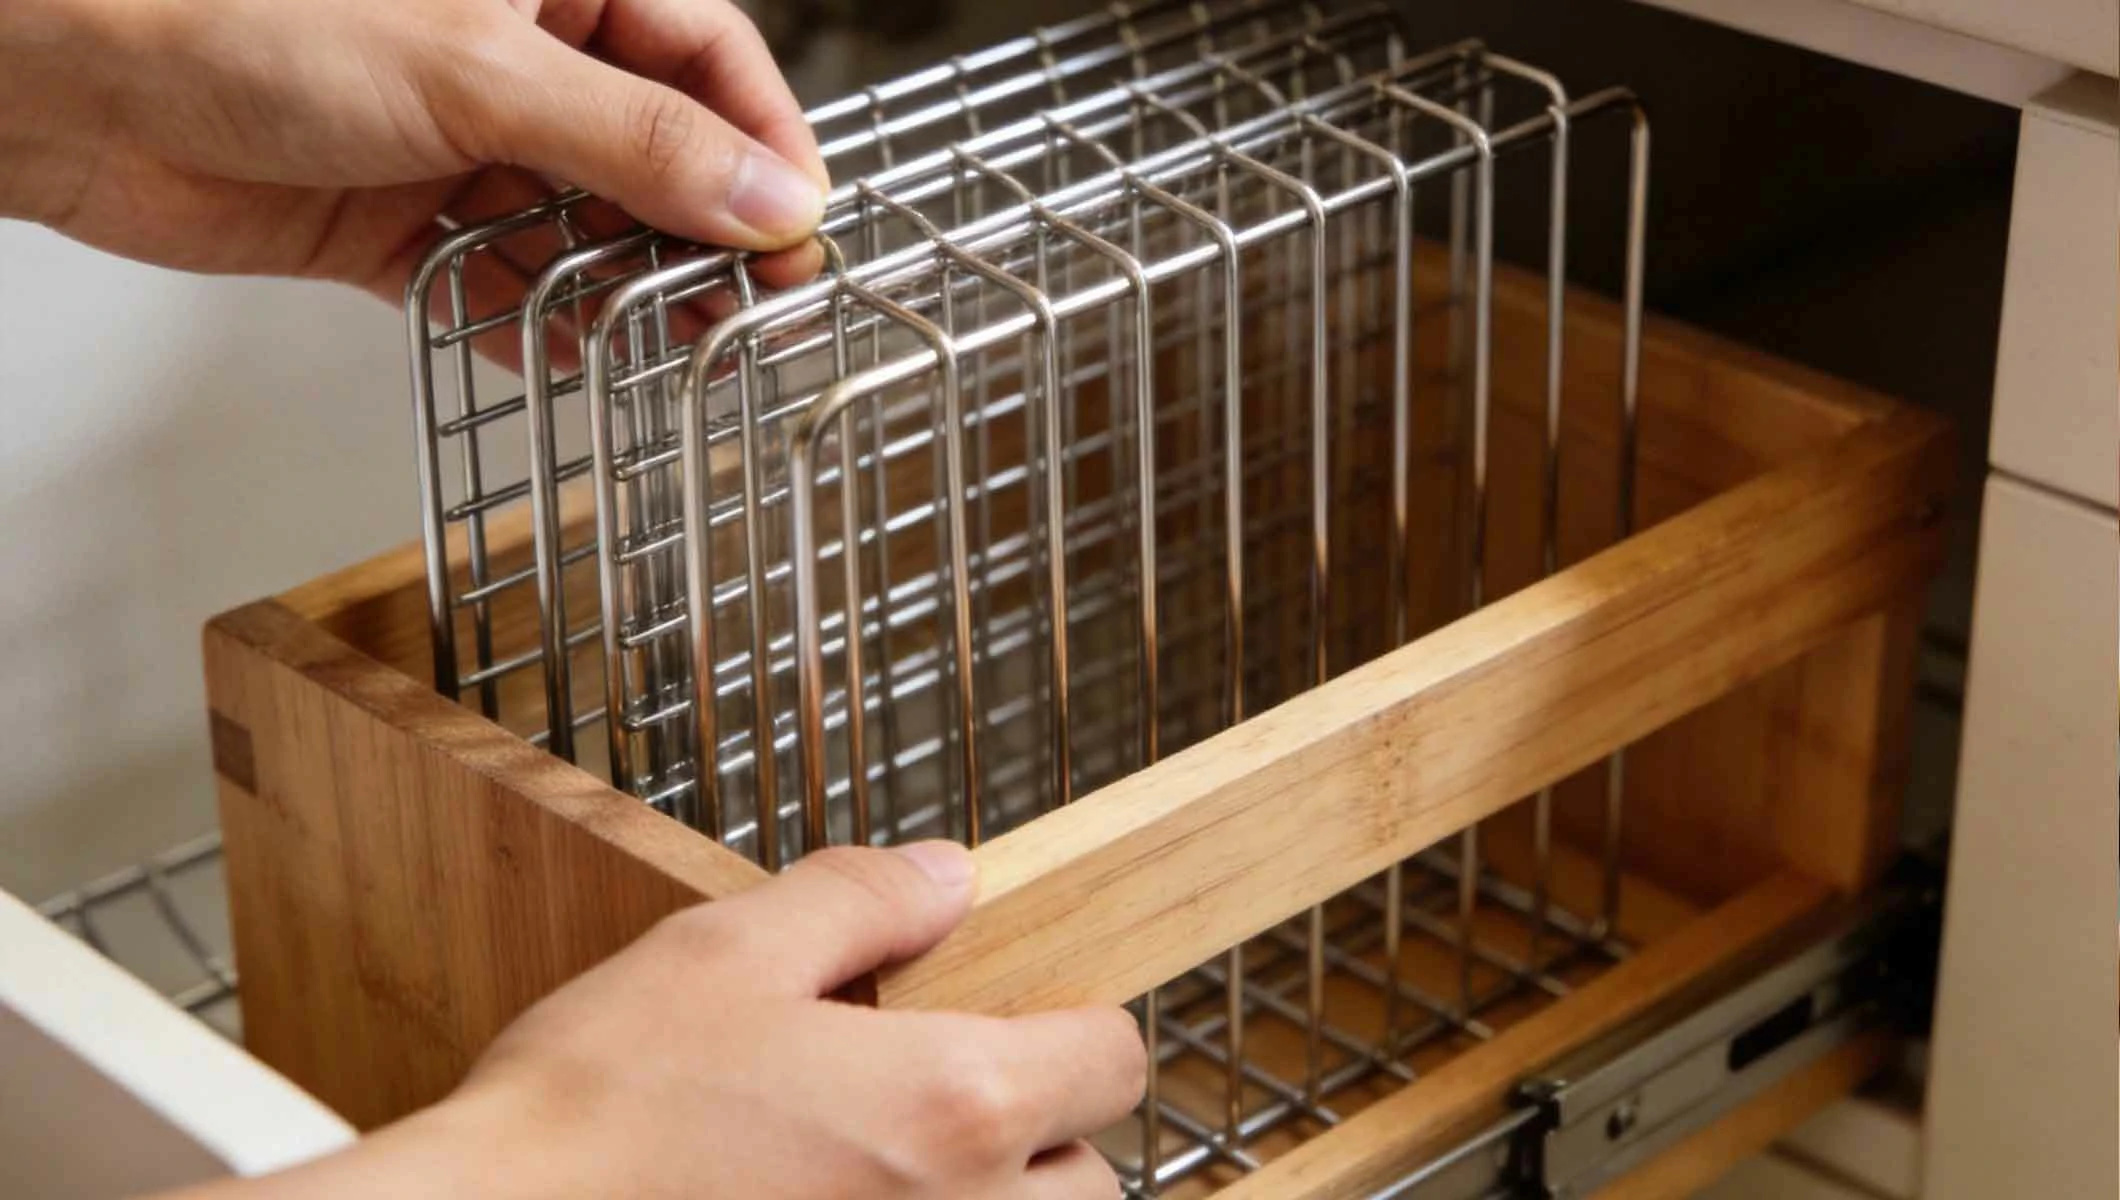
1. Loading and Unloading
Always insert and remove racks by lifting them vertically up and out of their slots. Sliding them in and out sideways can warp the thin dividers over time.
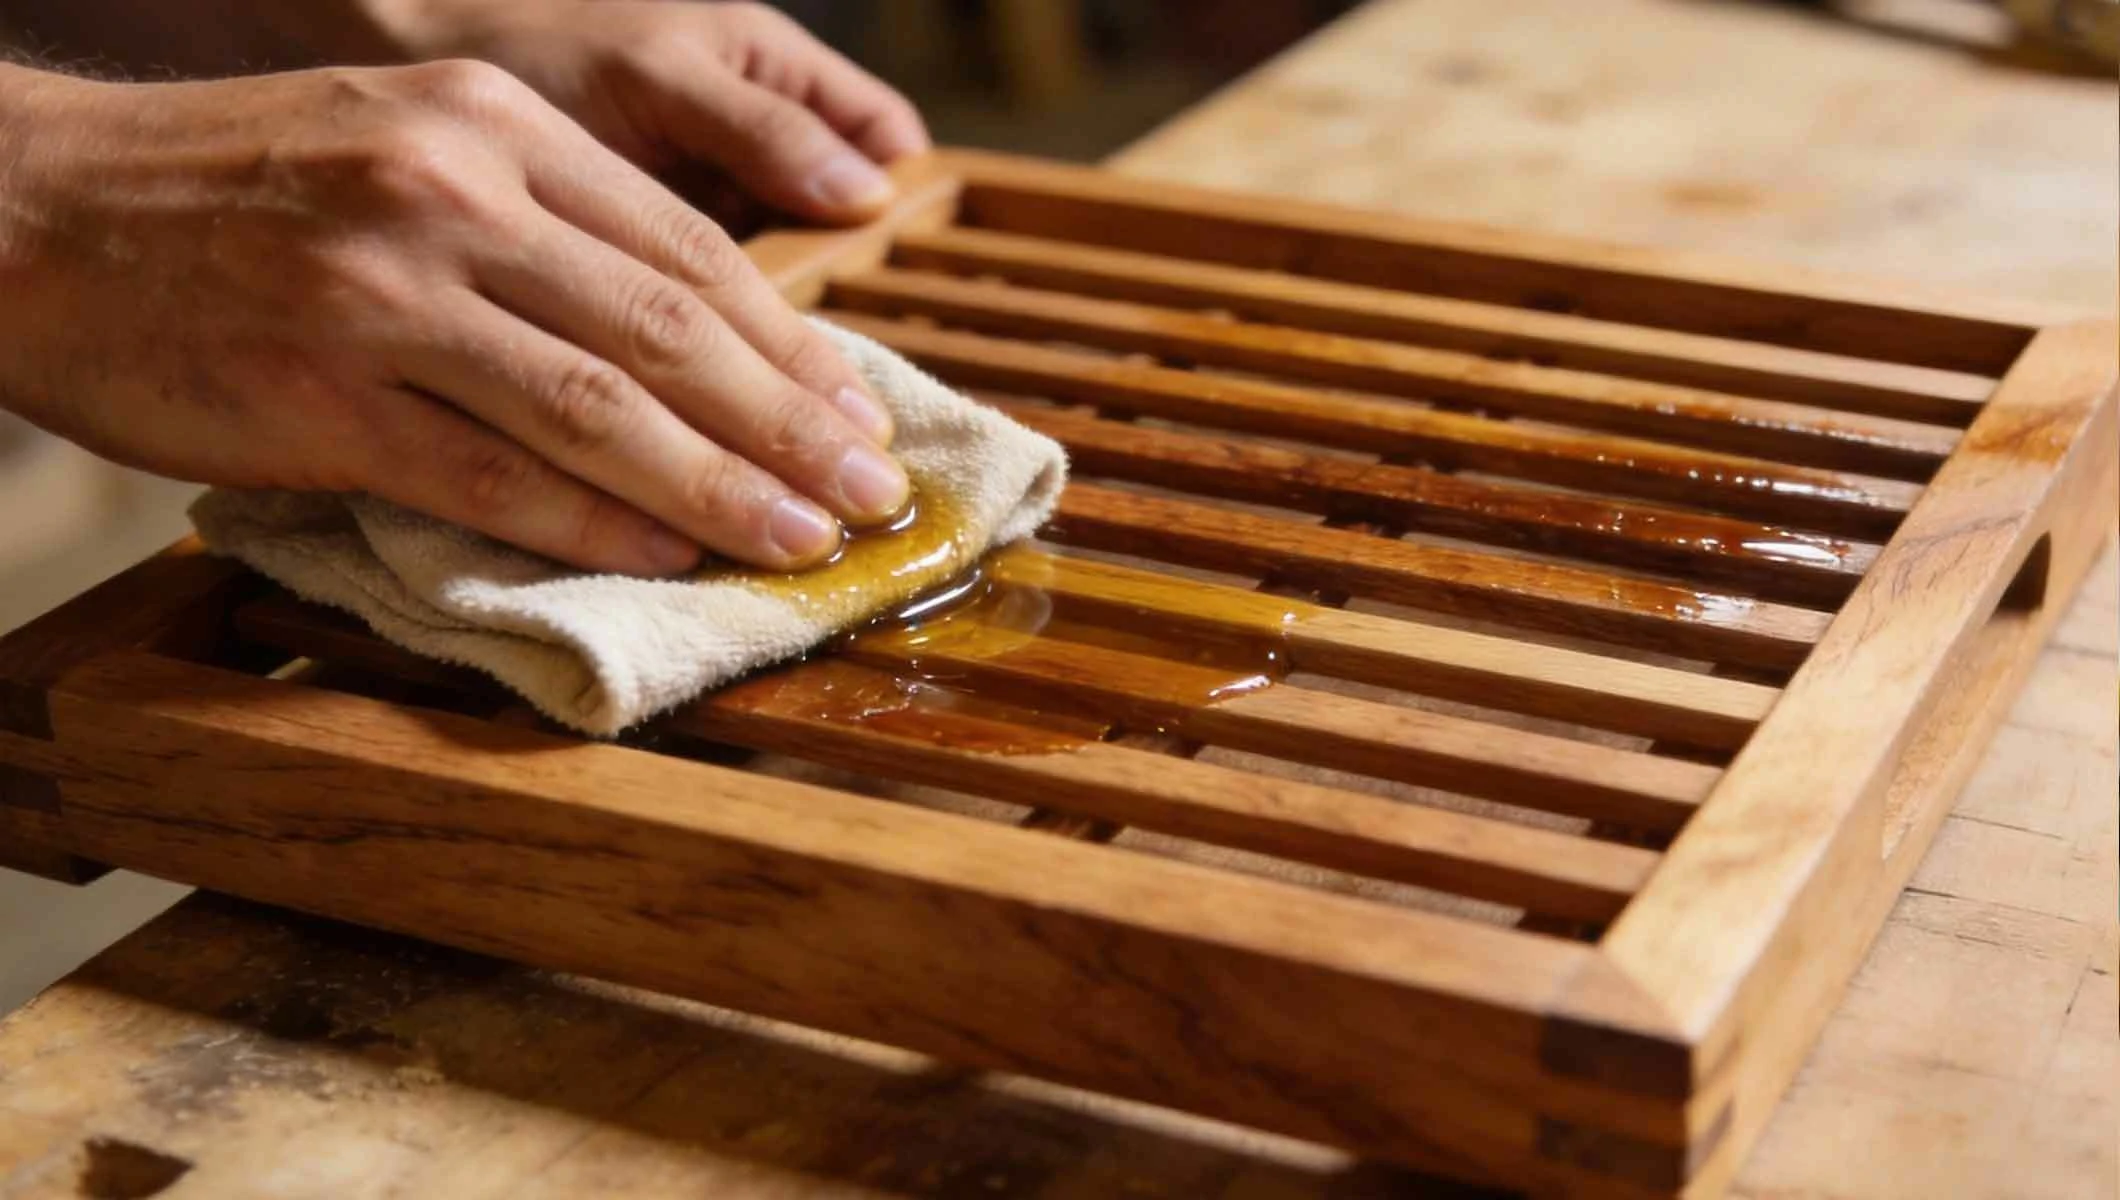
2. Regular Cleaning
Wipe down the organizer with a damp cloth as needed. If it gets floury or greasy, a mild soap solution is fine. Avoid soaking it in water, especially if unfinished.
3. Seasonal Storage
This organizer isn't just for cooling racks. Use it in your craft room for picture frames, in the office for folders and binders, or in the garage to sort sanding blocks or small panels.
4. Weight Distribution
While sturdy, it's designed for lightweight racks. Do not overload it with heavy pots or pans, as this could stress the joints.
Advertisements
6. Troubleshooting Common Construction Issues
Even with careful planning, minor issues can arise. Here’s how to address them.
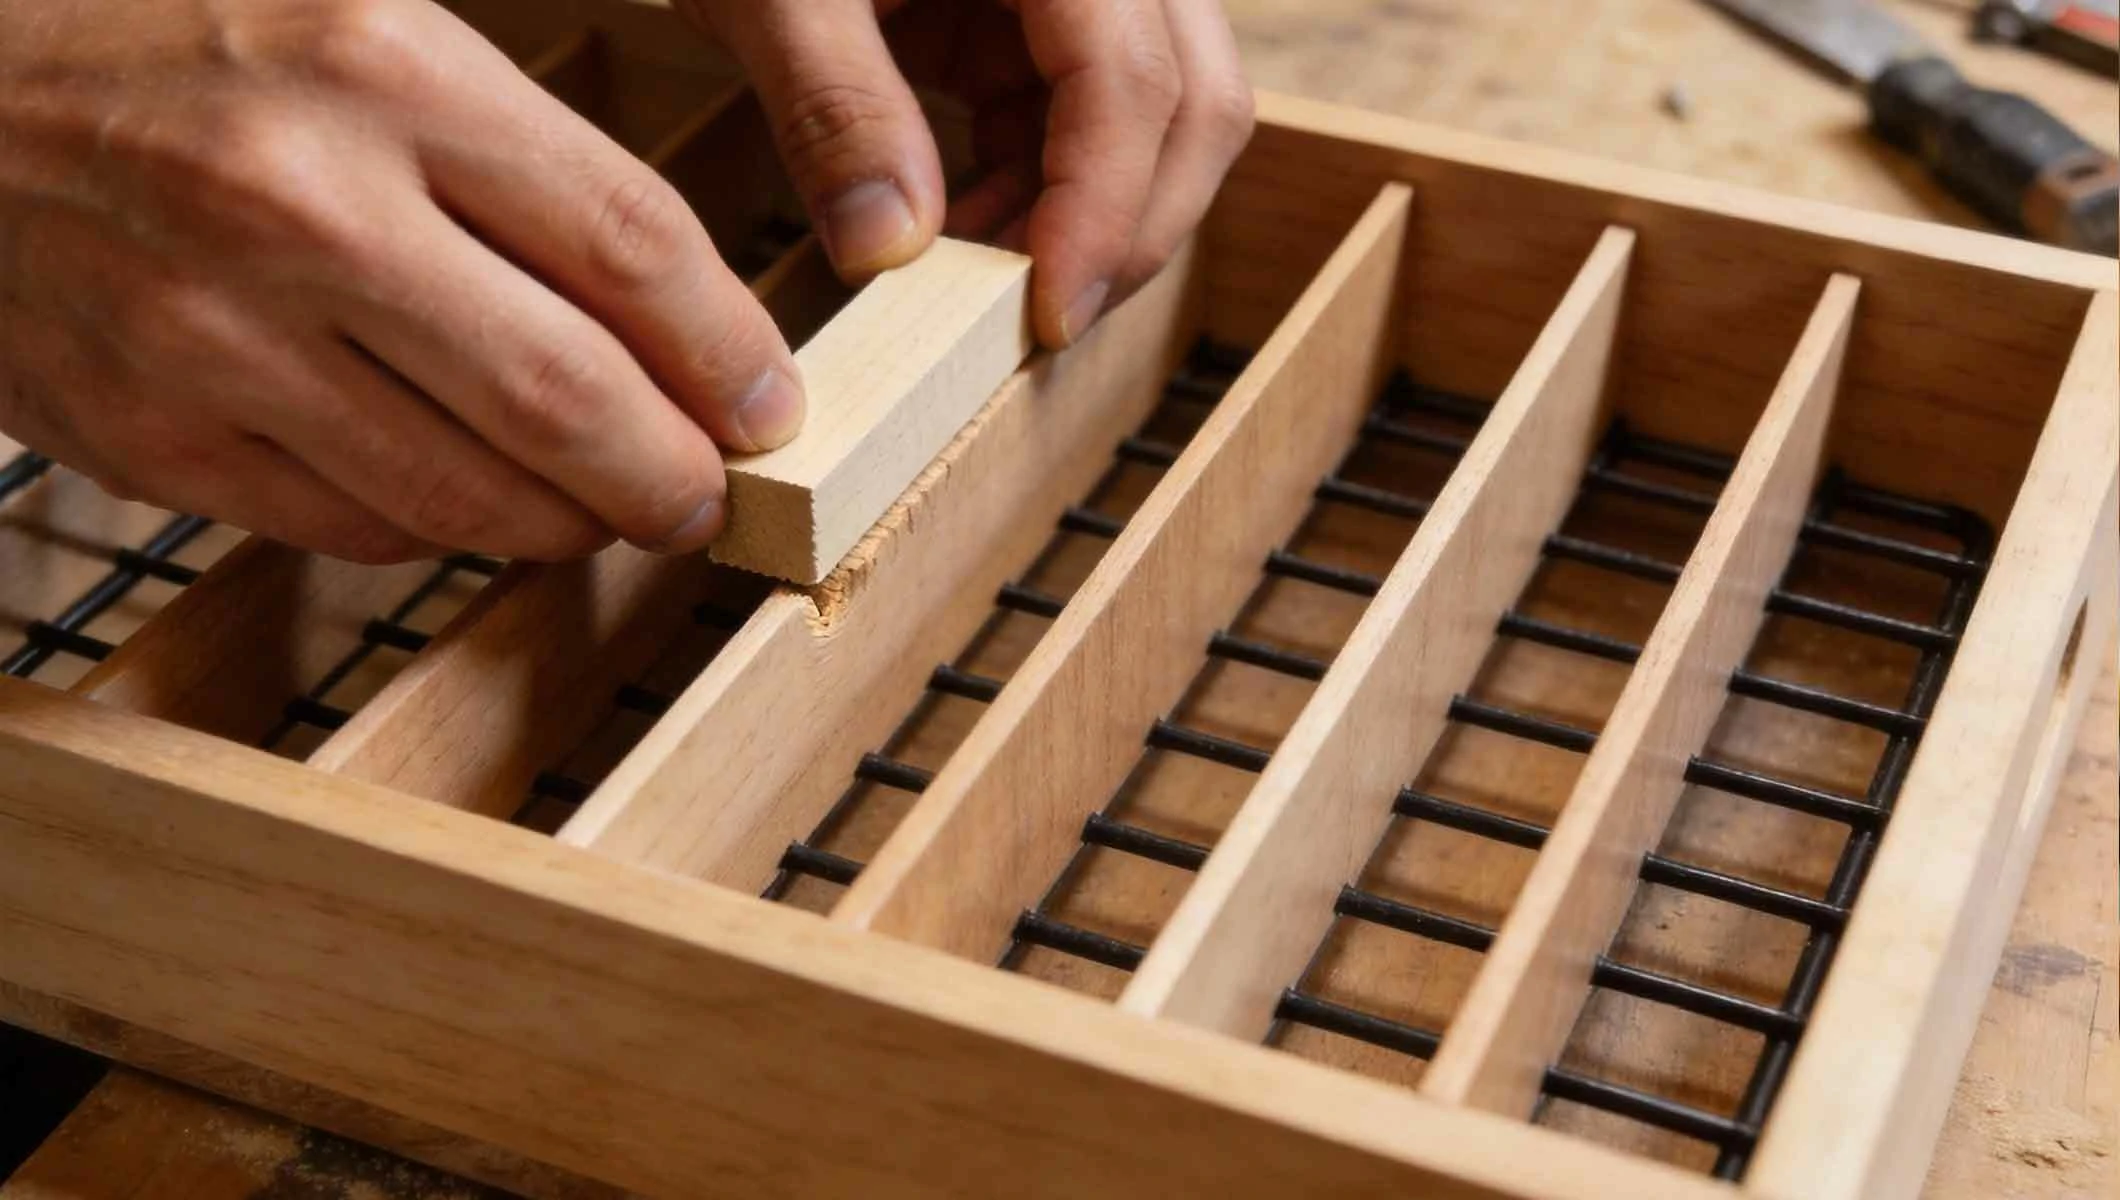
1. Dividers Are Not Perfectly Parallel
Use a spacer block (a piece of wood cut to your exact slot width) to position each divider as you install it. This guarantees uniform spacing.
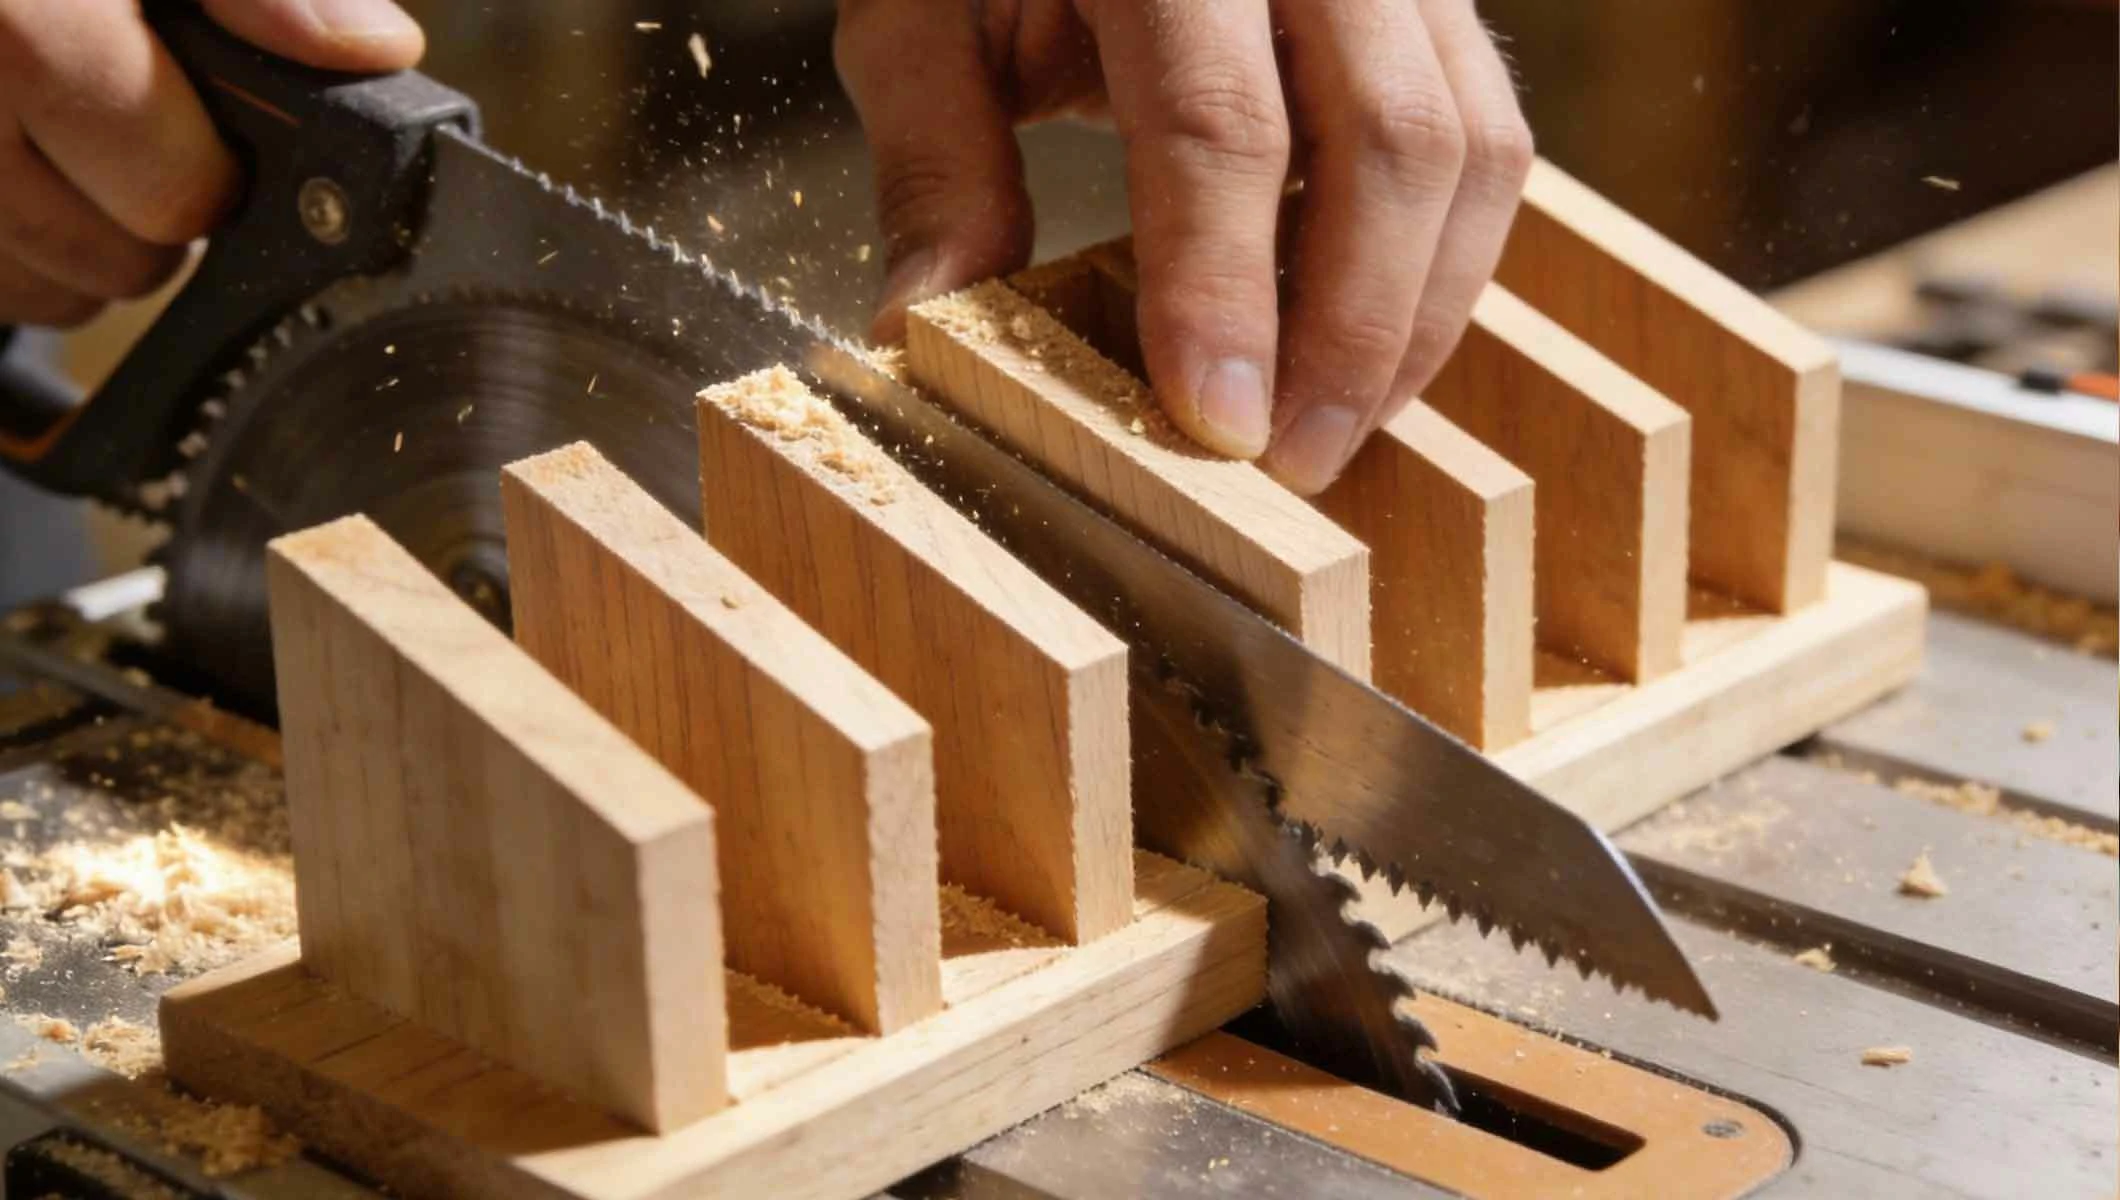
2. Screws Splitting the Wood
This is caused by not pre-drilling pilot holes. Always drill a pilot hole slightly smaller than the screw's core diameter, especially near the ends of boards.
3. Organizer Rocks on an Uneven Surface
If your floor or counter isn't perfectly level, the organizer may rock. Adjustable furniture glides or felt pads of varying thicknesses on the bottom corners can stabilize it.
4. Racks Fit Too Tightly or Too Loosely
This is a planning issue. For future projects, always do a test fit with a scrap piece of wood before final assembly. For an existing organizer that's too tight, carefully sand down the dividers slightly.
7. The Benefits of a DIY Kitchen Solution
Investing time in this project yields rewards beyond a tidy drawer.
1. Perfect Custom Fit
A store-bought organizer forces you to adapt your items to it. A DIY version is built to the exact specifications of *your* baking tools.
2. Cost Effectiveness
The cost of a single pre-made specialty organizer often exceeds the price of materials for several custom DIY versions.
3. Personal Satisfaction and Skill Building
The pride of using a tool you built yourself is immense. This project builds fundamental measuring, cutting, and assembly skills.
4. Reduction of Clutter and Damage
Separated racks won't scratch, bend, or get tangled. You'll save time previously spent wrestling a pile of racks from a crowded cabinet.
Advertisements
Advertisements
You May Have Missed

The 10 riskiest dog breeds to keep at home

Flight attendants share their most memorable travel experiences