3. Step-by-Step Assembly Instructions
Advertisements
With materials ready and a plan in hand, you can begin construction. Work on a stable, flat surface.
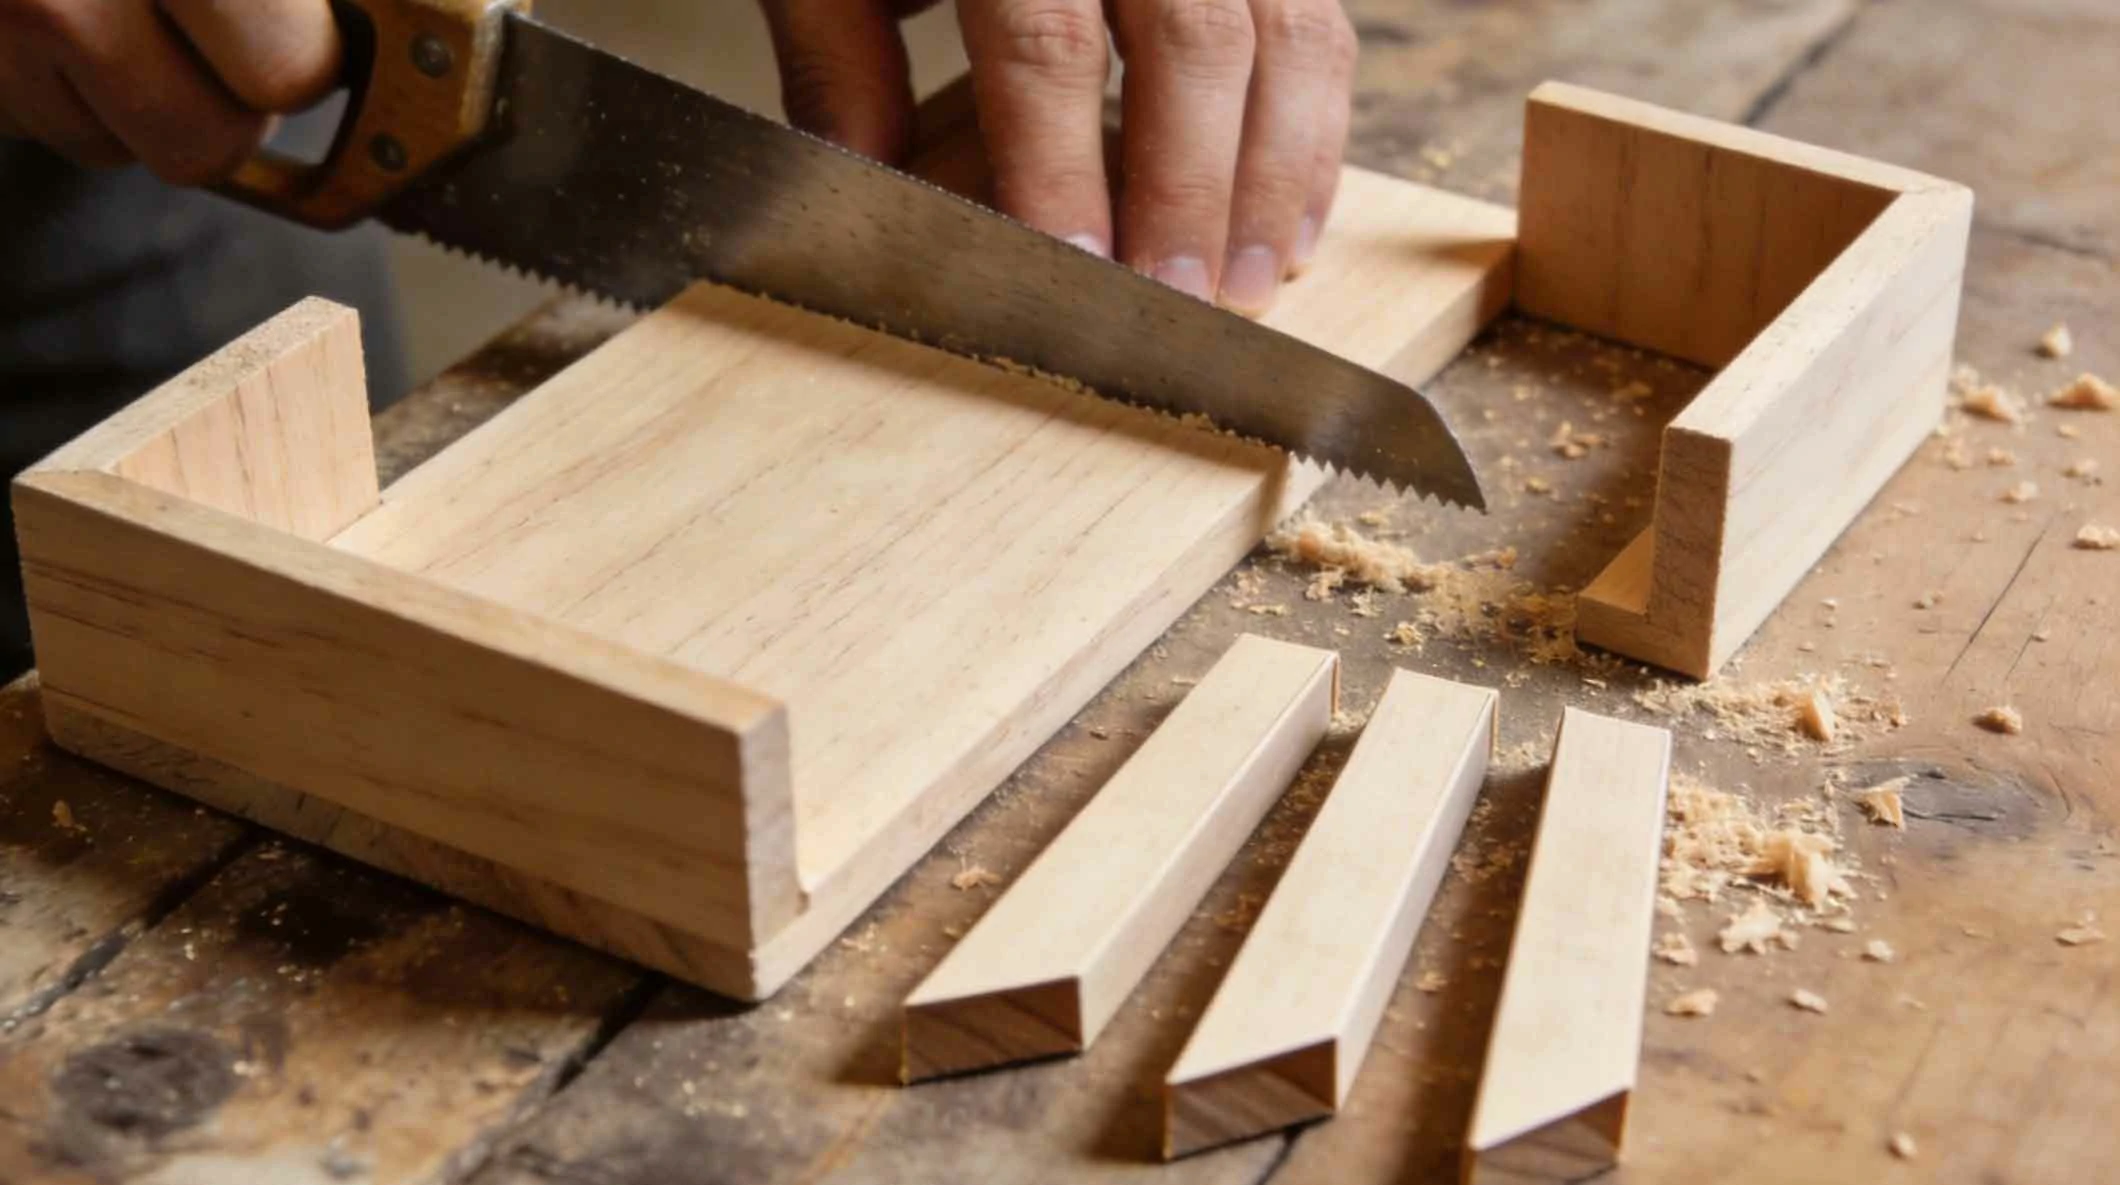
1. Cut the Wood Pieces
Using your measurements and cutting plan, carefully mark and cut all pieces: the base panel, the two side panels, the two end panels, and the divider panels. Double-check measurements before cutting.
2. Sand All Pieces Thoroughly
Sand every cut edge and surface, starting with a coarser grit (120) to remove splinters and smooth rough edges, then progress to a finer grit (220) for a satin-smooth finish. This prevents splinters and prepares the wood for finishing.
3. Assemble the Outer Box
Attach the side panels to the edges of the base panel. Apply a dab of wood glue to the joining edge, align the piece, and then secure it with screws driven through the side panel into the edge of the base. Pre-drill pilot holes to prevent the wood from splitting. Repeat for the other side and both ends to form a simple open-topped box.
4. Install the Interior Dividers
Mark the positions for your dividers on the base and the inside of the side panels. Ensure they are parallel and evenly spaced. Secure the dividers by driving screws through the exterior side panels into the ends of the dividers, and optionally add a small screw up through the base into the bottom of each divider for extra rigidity.
5. Apply a Finish (Optional but Recommended)
While bare wood is functional, a finish protects from moisture and grease. A simple wipe-on food-safe mineral oil or beeswax sealant is perfect. For a painted look, use a non-toxic, water-based paint or sealant suitable for kitchen items.
Advertisements
Advertisements
You May Have Missed
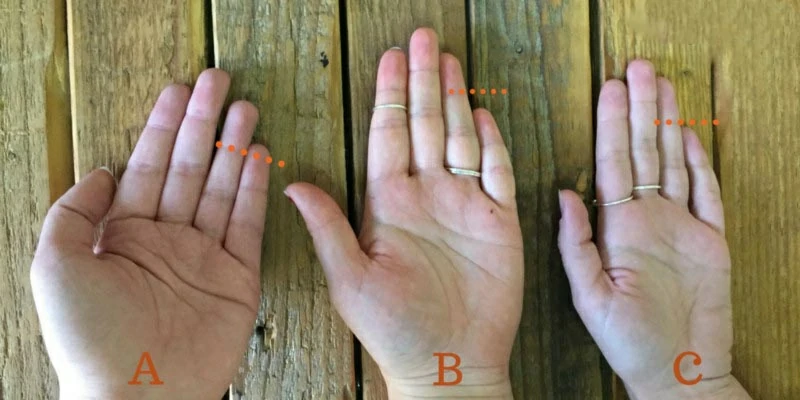
How long are your pinky and ring fingers? Finger longth reveal your personality

The husband abandoned his sick wife for his mistress.