4. Hydrogen Peroxide: The Stain-Lifting Booster
Advertisements
Hydrogen peroxide is a common household disinfectant and bleaching agent that can enhance homemade oven cleaners. Its oxidizing properties help break down organic stains and sanitize surfaces without harsh chemicals. In DIY recipes, it works well with baking soda to create a powerful paste for tough jobs. This section covers its role, application, and safety in oven cleaning.
1. 🧪 The Oxidizing Action of Hydrogen Peroxide
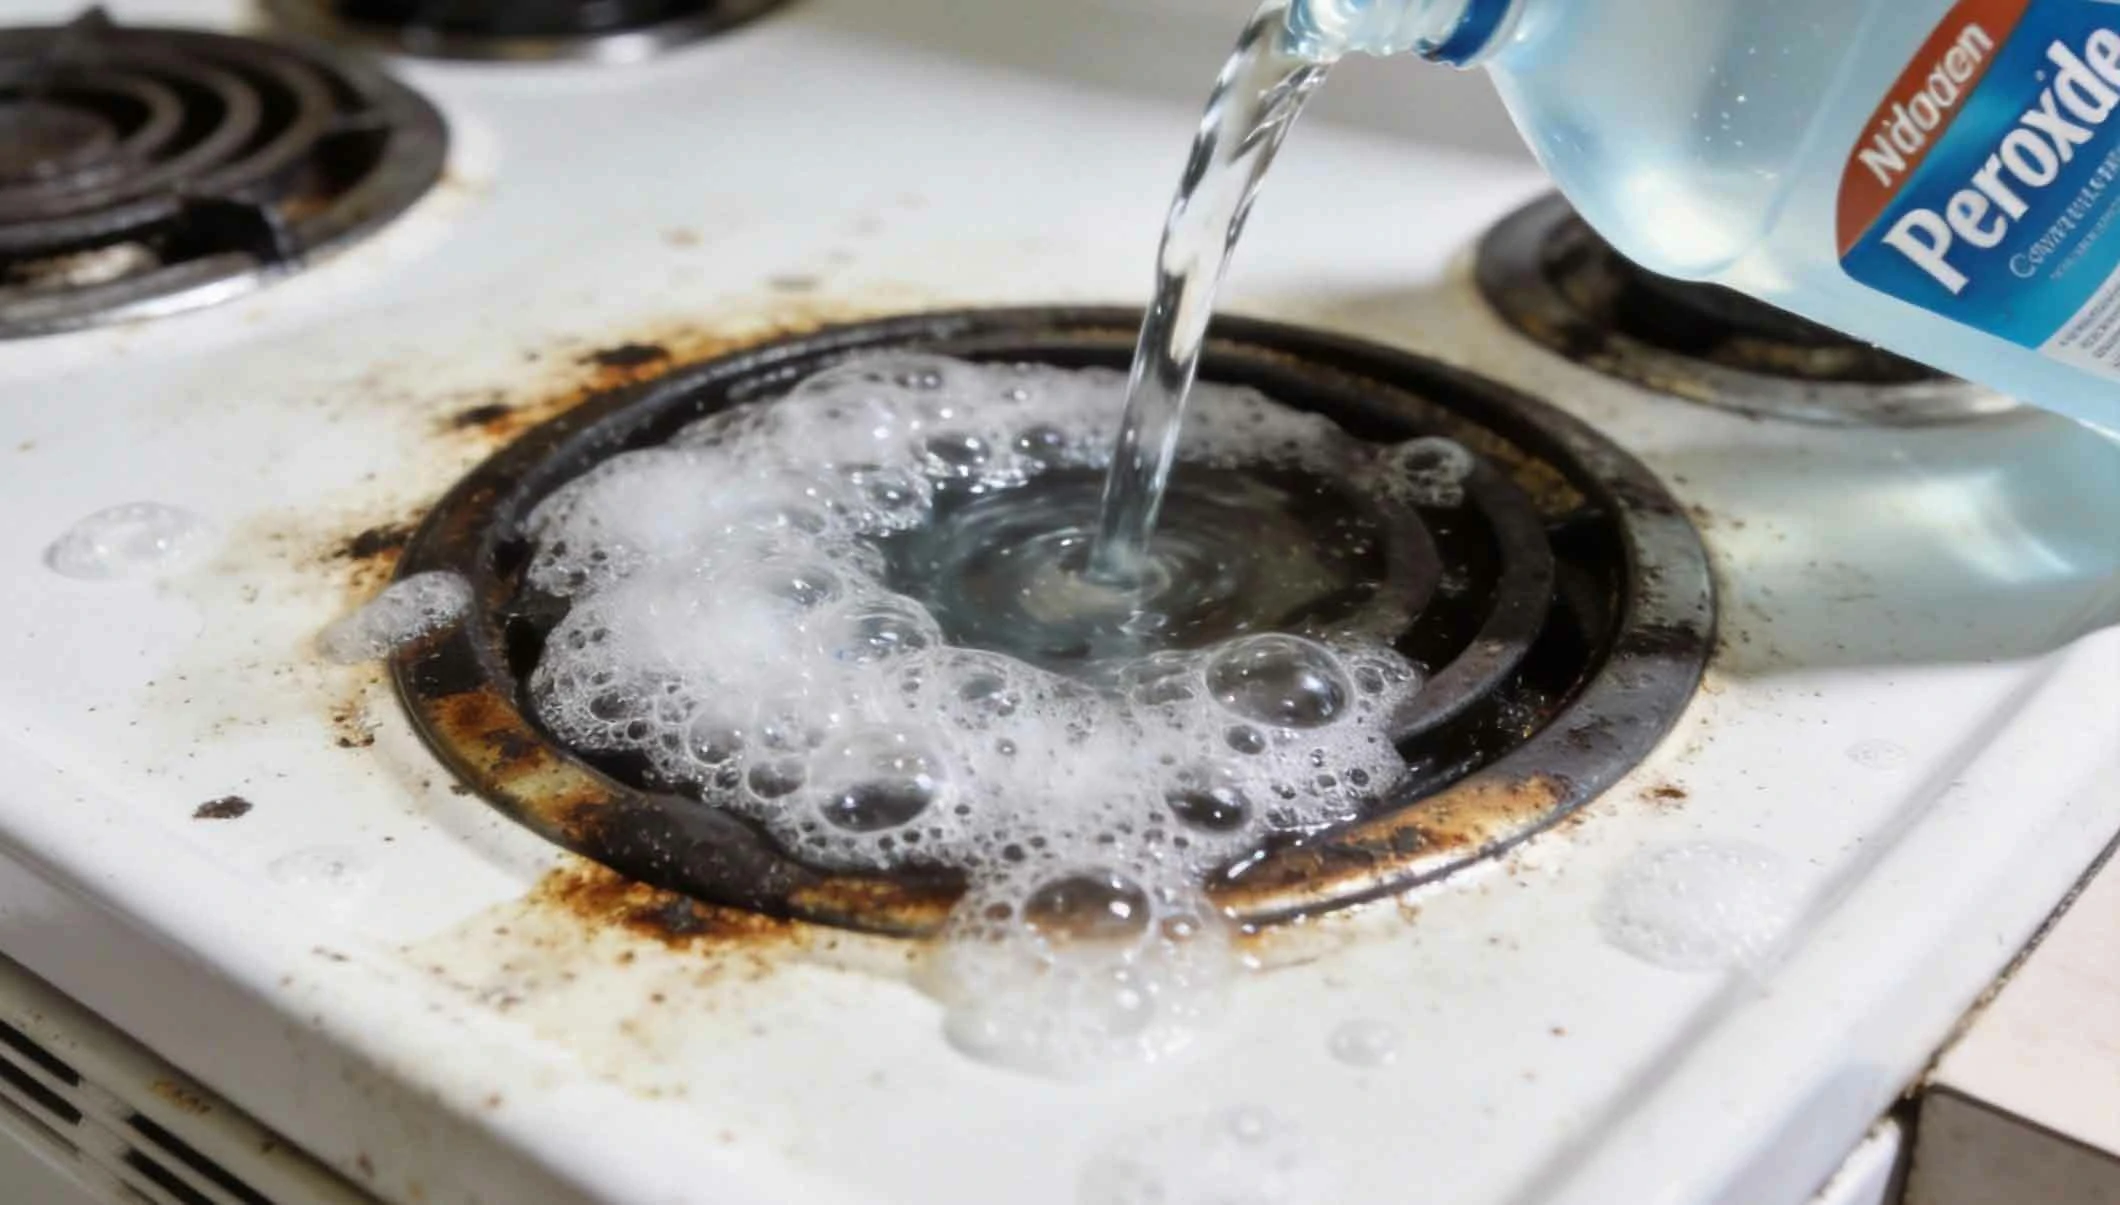
Hydrogen peroxide (typically 3% solution) releases oxygen bubbles when it comes into contact with organic matter, which helps lift stains and disinfect by killing bacteria and viruses. In oven cleaning, it targets baked-on food residues and greasy buildup, making them easier to remove. Its mild bleaching effect can lighten discolored areas without damaging surfaces. When combined with baking soda, it forms a paste that foams and penetrates grime, providing a deep clean. This makes it a valuable addition for ovens with heavy staining or for those seeking a more sanitary clean.
2. 🥄 Applying Hydrogen Peroxide in Your DIY Cleaner
To use hydrogen peroxide in your homemade oven cleaner, mix it with baking soda to create a thick paste. Apply this paste to the oven interior, focusing on stained spots, and let it sit for at least an hour. For a spray solution, combine hydrogen peroxide with water and vinegar in a spray bottle, then mist onto surfaces. Wipe clean with a damp cloth after the paste dries. You can also use hydrogen peroxide alone on a cloth to spot-clean small areas. Always use it in a well-ventilated area, and avoid mixing with other chemicals like vinegar in closed containers to prevent pressure buildup.
3. ⚠️ Safety Measures for Hydrogen Peroxide
Store hydrogen peroxide in its original dark bottle away from light and heat to prevent decomposition. Wear gloves and eye protection when handling, as it can irritate skin and eyes. Never ingest or inhale concentrated solutions, and keep out of reach of children and pets. Avoid using hydrogen peroxide on colored surfaces, as it may cause fading. Test on a small area first to check for compatibility. By following these precautions, you can safely incorporate hydrogen peroxide into your cleaning routine for a more effective oven clean.

5. Dish Soap: The Grease-Cutting Surfactant
Dish soap is a trusted cleaner for cutting through grease on dishes, and it plays a similar role in homemade oven cleaners. Its surfactants lower the surface tension of water, allowing it to emulsify and lift oily residues from oven surfaces. Adding dish soap to your DIY recipe enhances cleaning power without harsh chemicals. Here, we explore its benefits, usage, and tips for optimal results.
1. 🧪 How Dish Soap Breaks Down Grease in Ovens
Dish soap contains surfactants that attract both water and oil, breaking down grease molecules and suspending them in water for easy removal. In oven cleaning, this action helps dissolve accumulated fats and oils from cooking, which are often the toughest to clean. Its mild formula is safe for most surfaces and can be combined with other ingredients like baking soda for a scrubbing effect. Dish soap also adds a slight foaming action that helps spread the cleaner evenly, ensuring thorough coverage on oven walls and racks.
2. 🥄 Using Dish Soap in Your Homemade Cleaner Recipe
To incorporate dish soap into your homemade oven cleaner, add a few drops to a baking soda paste or a vinegar-water solution. Mix well until it forms a consistent texture, then apply to the oven interior using a sponge or brush. Let it sit for 15-30 minutes to allow the soap to penetrate grease, then scrub gently and wipe clean. For a quick clean, mix dish soap with warm water and use it to wipe down surfaces after heavy use. Rinse thoroughly to avoid soapy residues that can attract dirt. This method is effective for regular maintenance and light cleaning tasks.
3. ⚠️ Tips for Maximizing Dish Soap's Effectiveness
Choose a biodegradable, fragrance-free dish soap to minimize environmental impact and avoid synthetic scents. Avoid using dish soap on porous surfaces like unsealed wood, as it can leave residues. Always rinse the oven well after cleaning to prevent soap buildup, which might affect cooking flavors. Store dish soap in a cool, dry place away from direct sunlight. For sensitive skin, wear gloves during application. By using dish soap wisely, you can boost your DIY cleaner's grease-fighting power while keeping your oven safe and clean.
6. Essential Tools: Spray Bottles and Scrubbing Tools
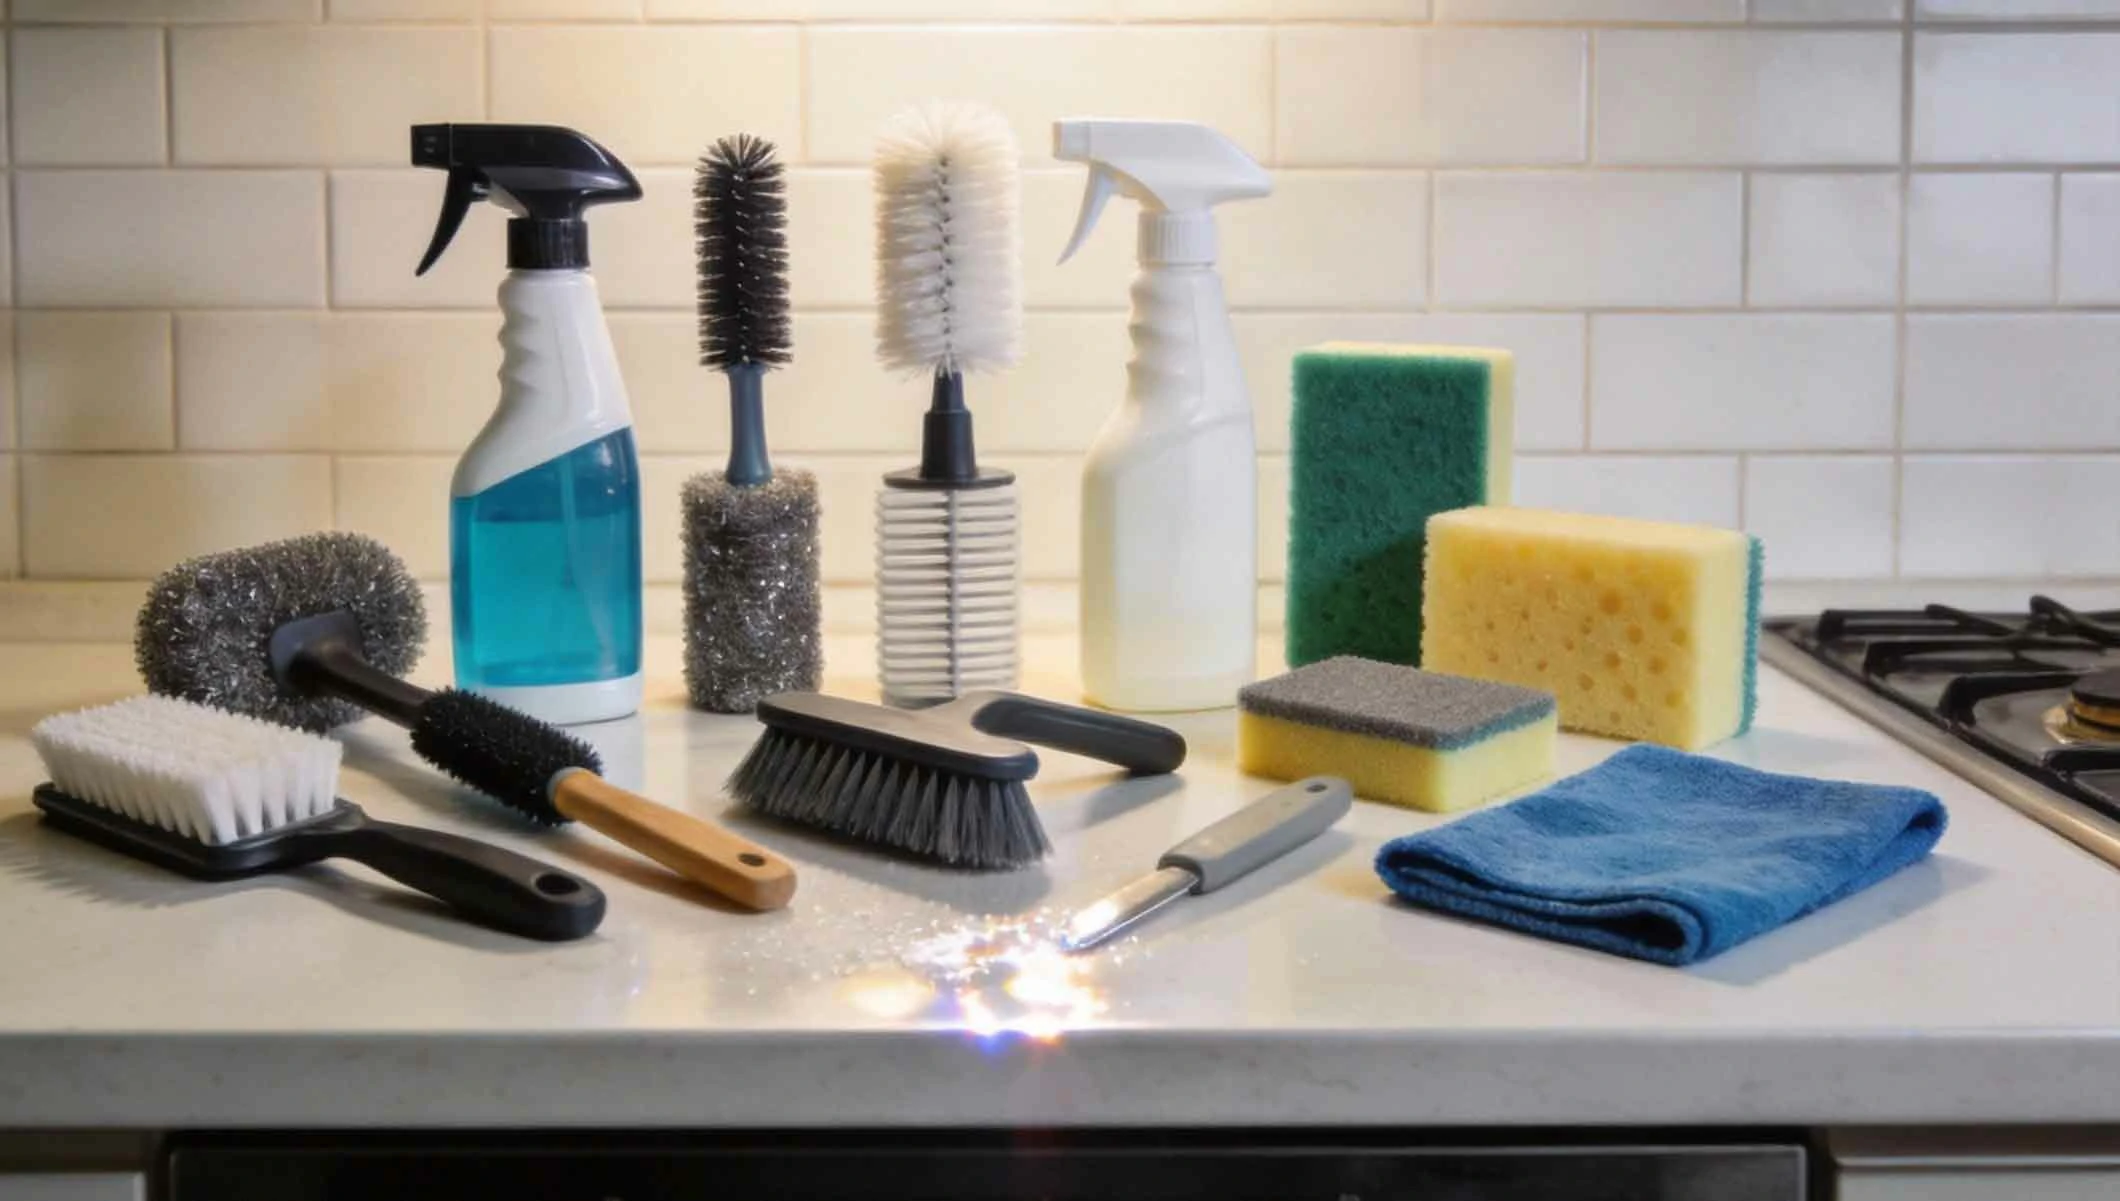
Beyond ingredients, the right tools are crucial for applying and using homemade oven cleaners effectively. Spray bottles, sponges, brushes, and gloves make the cleaning process easier and safer. This section highlights key tools that complement your DIY recipe, ensuring a smooth and efficient cleaning experience.
1. 🧪 The Role of Spray Bottles in Application
Spray bottles allow for even distribution of liquid cleaners, helping you cover large oven surfaces quickly. They are ideal for applying vinegar or hydrogen peroxide solutions, ensuring the cleaner reaches crevices and hard-to-access areas. Choose a bottle with an adjustable nozzle for controlled spraying, and label it clearly to avoid confusion with other household products. Using a spray bottle reduces waste and provides a mess-free application, making your cleaning routine more efficient.
2. 🥄 Selecting the Right Scrubbing Tools
Scrubbing tools like non-abrasive sponges, brushes, or microfiber cloths are essential for removing loosened grime without damaging oven surfaces. For baking soda paste, use a soft sponge or a nylon brush to scrub gently. Avoid steel wool or harsh scrubbers that can scratch glass or enamel. Microfiber cloths are excellent for wiping and polishing after cleaning. Having a variety of tools on hand ensures you can tackle different types of residue, from light grease to baked-on stains, with precision.
3. ⚠️ Safety Gear and Maintenance of Tools
Wear gloves to protect your hands from ingredients like vinegar or baking soda, which can dry out skin. Safety goggles are recommended when using sprays to avoid eye irritation. After cleaning, rinse all tools thoroughly and allow them to dry to prevent mold growth. Store tools in a clean, organized space for future use. Regularly check spray bottles for clogs and replace them if damaged. By maintaining your tools, you ensure they remain effective and safe for repeated use in DIY cleaning projects.

In conclusion, creating a homemade oven cleaner with simple items like baking soda, white vinegar, lemon juice, hydrogen peroxide, and dish soap offers a safe, economical, and eco-friendly alternative to commercial products. By understanding each item's role and following the tips provided, you can effectively tackle oven grime without harsh chemicals. This DIY approach not only saves money but also promotes a healthier home environment. Remember to always test on small areas first and use proper safety gear. With this easy recipe and the right tools, you can keep your oven sparkling clean and extend its lifespan. Embrace natural cleaning and enjoy the satisfaction of a job well done!
Advertisements
Advertisements
You May Have Missed

The truth behind grandma's fall

The husband abandoned his sick wife for his mistress.