4. The Overflow Management System: Handling Excess Water 💦
Advertisements
A heavy rain can fill your barrel in minutes. An overflow system is critical to direct excess water away from your home's foundation.
🔄 1. Overflow Port Placement
Drill a second hole for the overflow, located just below the top rim of the barrel or on the upper side. This should be opposite the spigot side for balance.
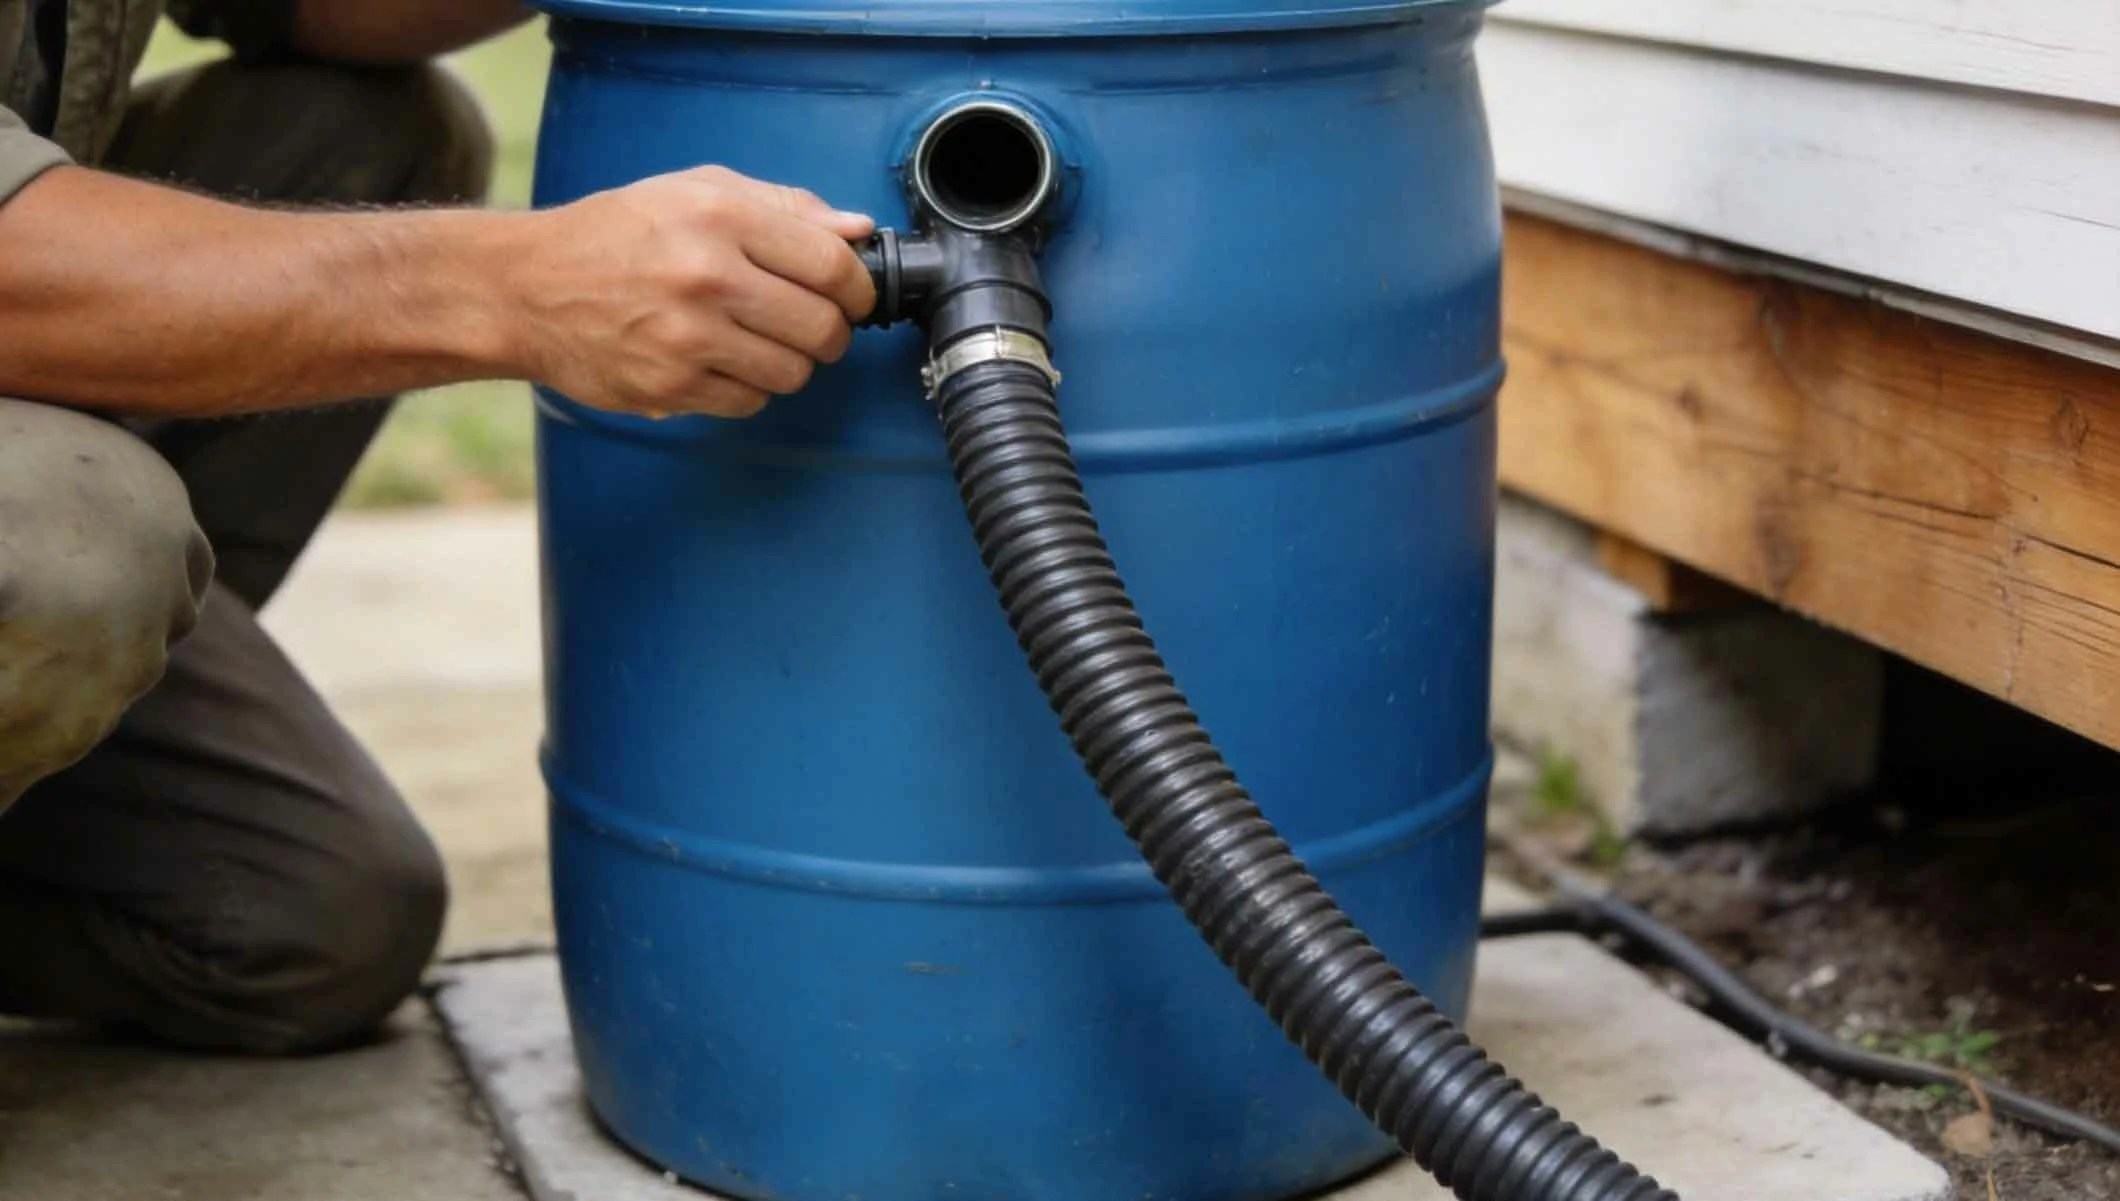
🔌 2. Installing a Bulkhead Fitting or Hose
You can install a second threaded fitting similar to the spigot or, more simply, insert a tight-fitting flexible hose (e.g., 1-inch garden hose) through the hole. Seal around it with silicone.
➡️ 3. Routing the Overflow
Attach a length of hose to the overflow outlet. Direct this hose several feet away from your home's foundation, toward a garden bed, a drainage ditch, or into a second barrel if you create a daisy-chain system.
5. System Integration and Safety Features 🔒
Final assembly and adding safety features will make your system robust, user-friendly, and secure.
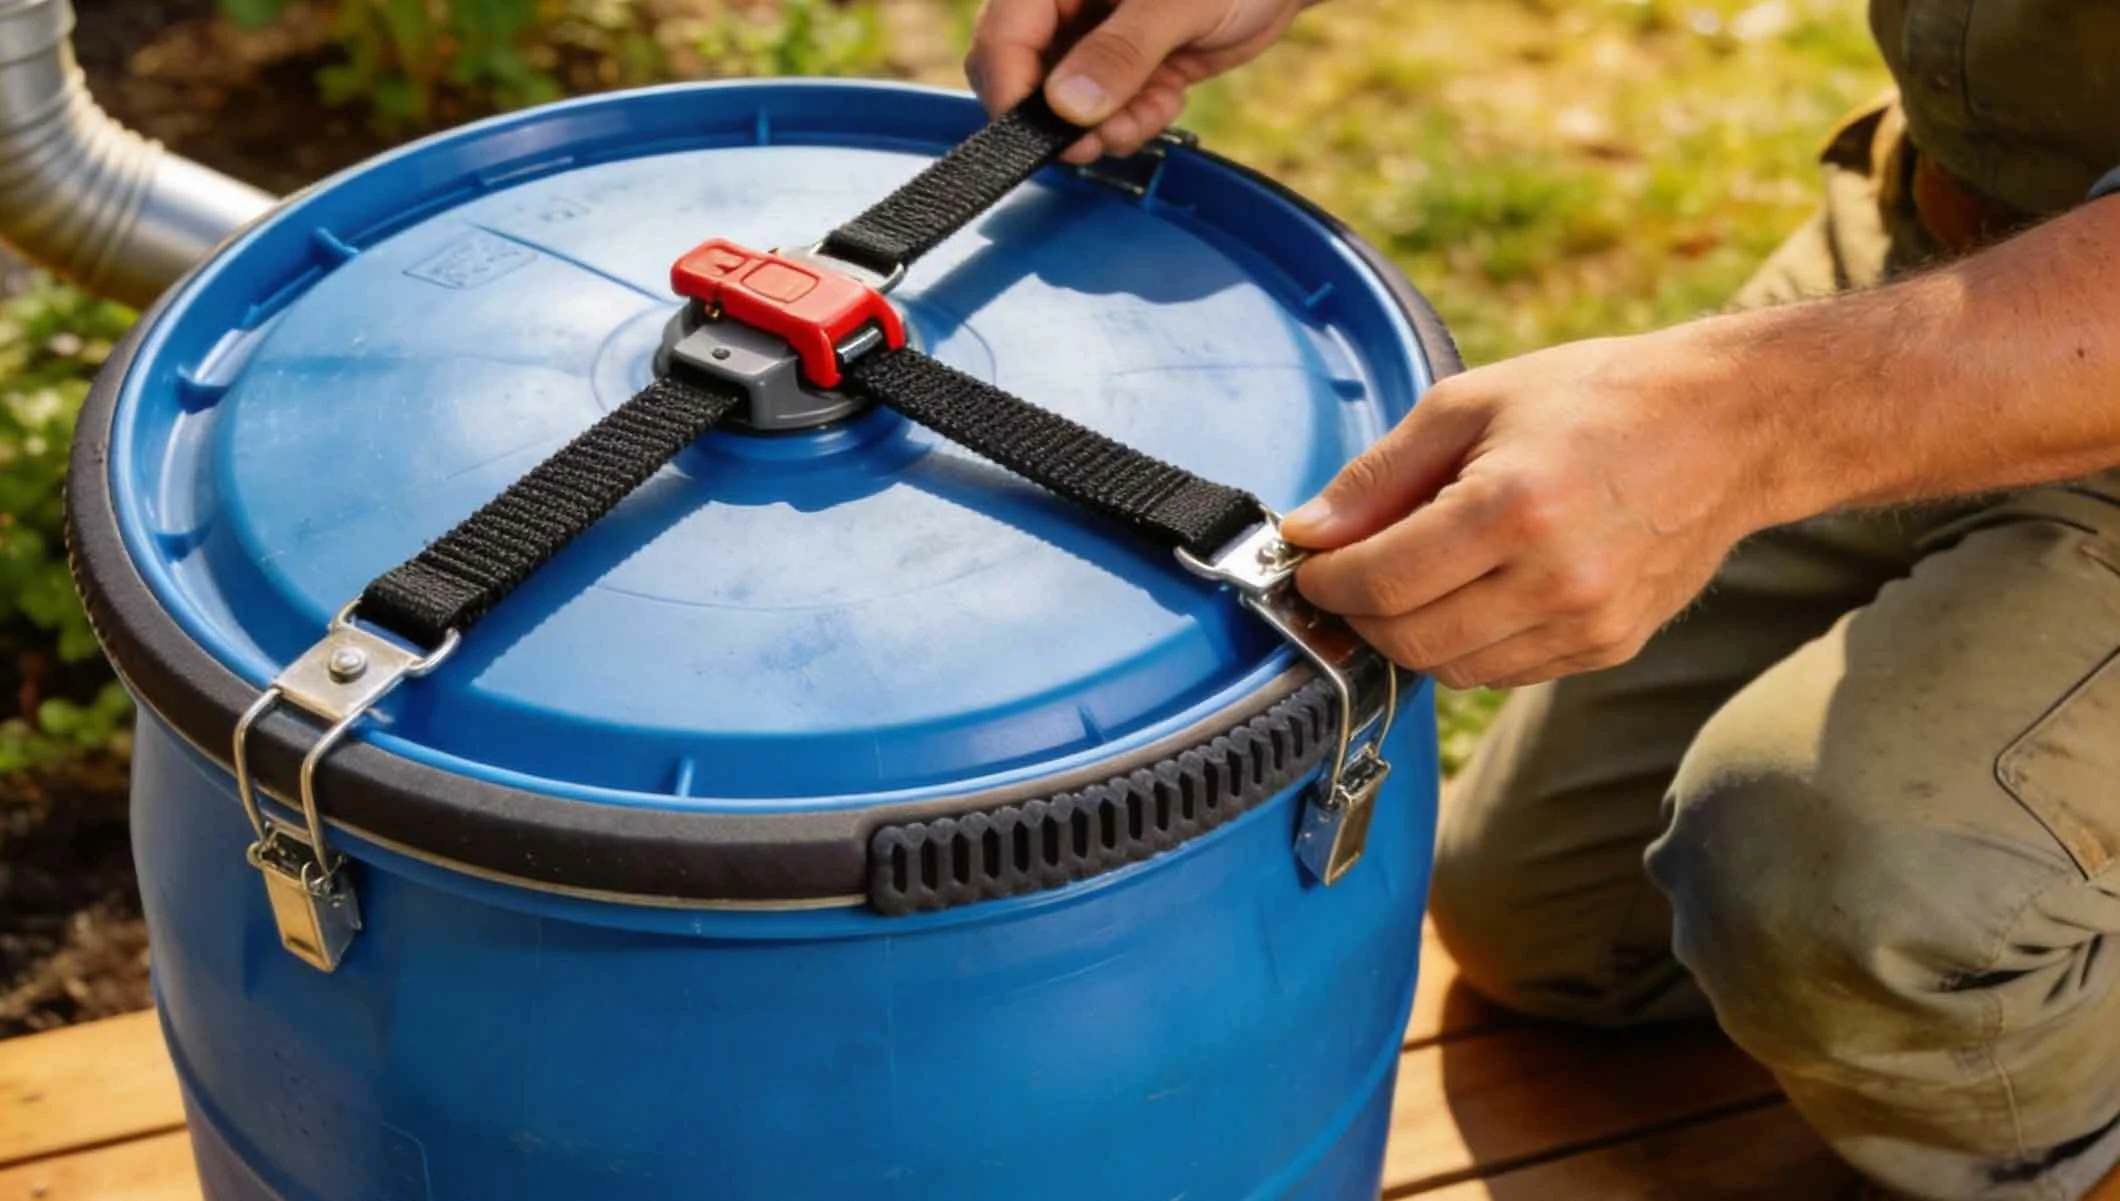
🔗 1. Securing the Lid
The lid must be child-proof and pest-proof. Secure it to the barrel using durable bungee cords or a locking strap that runs under the barrel's lip. This prevents access by children, pets, or animals and keeps mosquitoes out.
⚖️ 2. Stabilizing the Barrel
A full 32-gallon barrel weighs over 250 pounds. Ensure your platform is absolutely level and stable. You can further secure the barrel to a wall or your house's siding using a sturdy strap to prevent it from tipping.
🧯 3. Winterization and Maintenance
In freezing climates, you must drain and disconnect the barrel before winter to prevent ice damage. Periodically, check and clean the inlet screen, inspect seals for leaks, and empty and rinse the barrel to manage sediment buildup.
6. Utilization and Best Practices for Collected Water 🌱
Understanding how to best use your harvested rainwater ensures you get the most value from your system while staying safe.
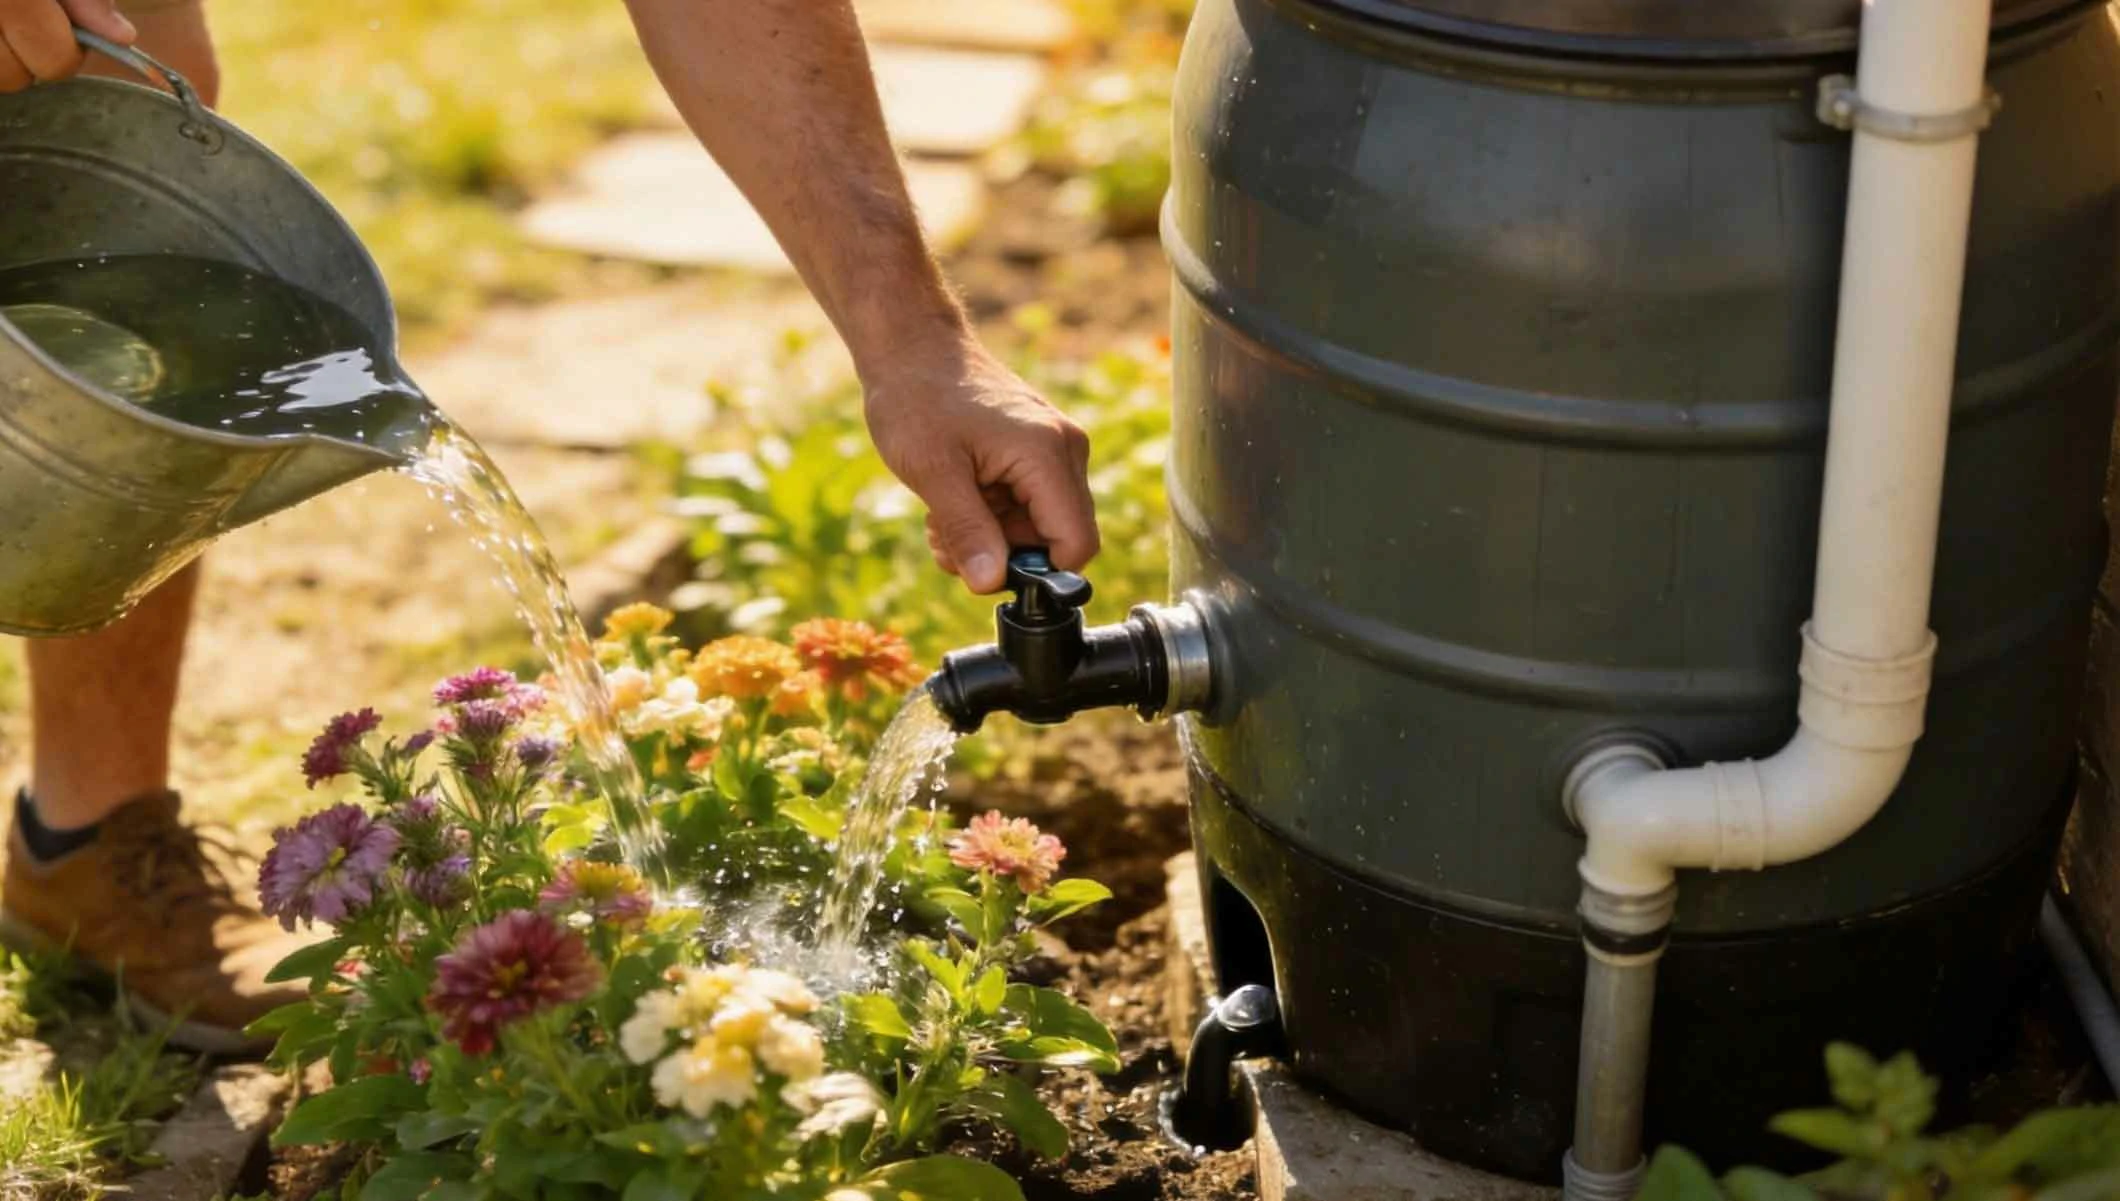
🚫 1. Recommended Uses (Non-Potable)
Rainwater collected in this system is non-potable (not for drinking). Its perfect uses include watering flower beds, vegetable gardens, and lawns; washing cars or outdoor furniture; and filling ornamental ponds.
💧 2. Accessing the Water
Use the spigot to fill watering cans directly. For more pressure or to connect a soaker hose, you can use a short piece of garden hose attached to the spigot. Remember, pressure is generated by gravity, so the fuller the barrel, the stronger the flow.
🧪 3. Optional Enhancements
For garden use, the water is typically perfect as-is. If you notice debris, let sediment settle and draw water from the spigot, not the bottom. You can add an inline filter to your hose for finer filtration if desired.

Conclusion
Building a rainwater collector from a trash can is more than a weekend DIY project; it's a step towards sustainable living and resourcefulness. For an investment of under $30 and a few hours of work, you gain a reliable source of free, soft water that your plants will love. This project demystifies water harvesting, proving that effective environmental solutions can be simple, affordable, and deeply rewarding. By following these detailed steps—from selecting the right can to installing secure overflow—you create a system that is safe, efficient, and ready to capture the next rainfall, turning waste into a valuable resource one drop at a time.
Advertisements
Advertisements
You May Have Missed

My Husband Took A Trip With Another Woman.

39 Awkward Vacation Photos You Absolutely Should See