2. The Faux Planter Trash Can Transformation
Advertisements
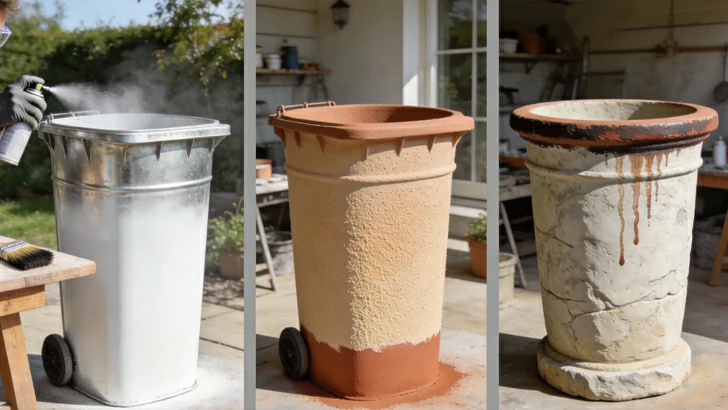
This is the centerpiece of the project. We are transforming a functional object into a purely decorative one, mimicking the look of a classic terracotta or stone planter. The focus here is on achieving a realistic, textured finish that belies the object's original purpose.
1. Applying Primer for Maximum Adhesion
In a well-ventilated area, apply a uniform coat of primer to the entire exterior of the clean, sanded trash can. A spray primer designed for metal and multi-surfaces works efficiently. Ensure you cover every inch, including the rim and bottom lip. Allow the primer to dry completely according to the manufacturer's instructions. This layer prevents rust and provides a perfect base for your topcoat.
2. Creating the Base Coat and Texture
Choose a base color that resembles classic pottery, such as terracotta, stone gray, or a soft white. Apply the first coat of paint evenly. For a more authentic, textured planter look, consider techniques like sponge painting or using a stiff-bristled brush to create subtle streaks before the paint dries. You can even mix a small amount of fine sand into the paint for a gritty texture. Let this coat dry thoroughly.
3. Adding Realistic Weathering and Details
To elevate the "faux" effect, add weathering details. Lightly dry-brush a darker shade around the rim and base to mimic dirt and shadow. Use a small brush to add subtle "water stain" streaks from the rim downward. The key is to build these effects in thin, translucent layers, stepping back frequently to assess the realism. Remember, real planters age unevenly, so embrace imperfections.
Advertisements
Advertisements
You May Have Missed
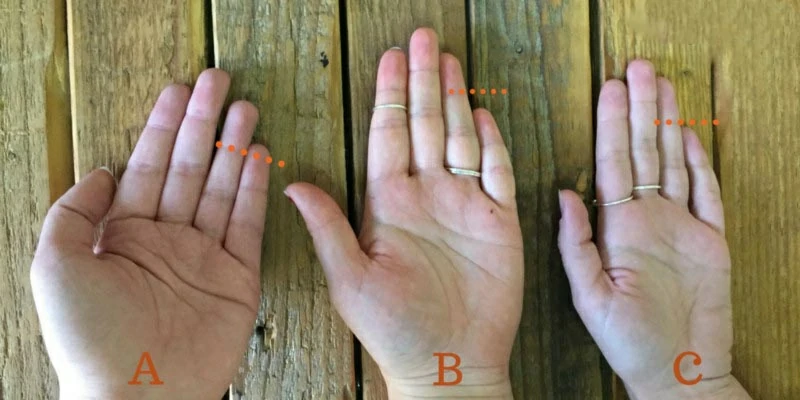
How long are your pinky and ring fingers? Finger longth reveal your personality
40 Breathtakingly Perfect Time-Lapse Photos