
Adorable Easter Paper Plate Basket Weaving
Advertisements
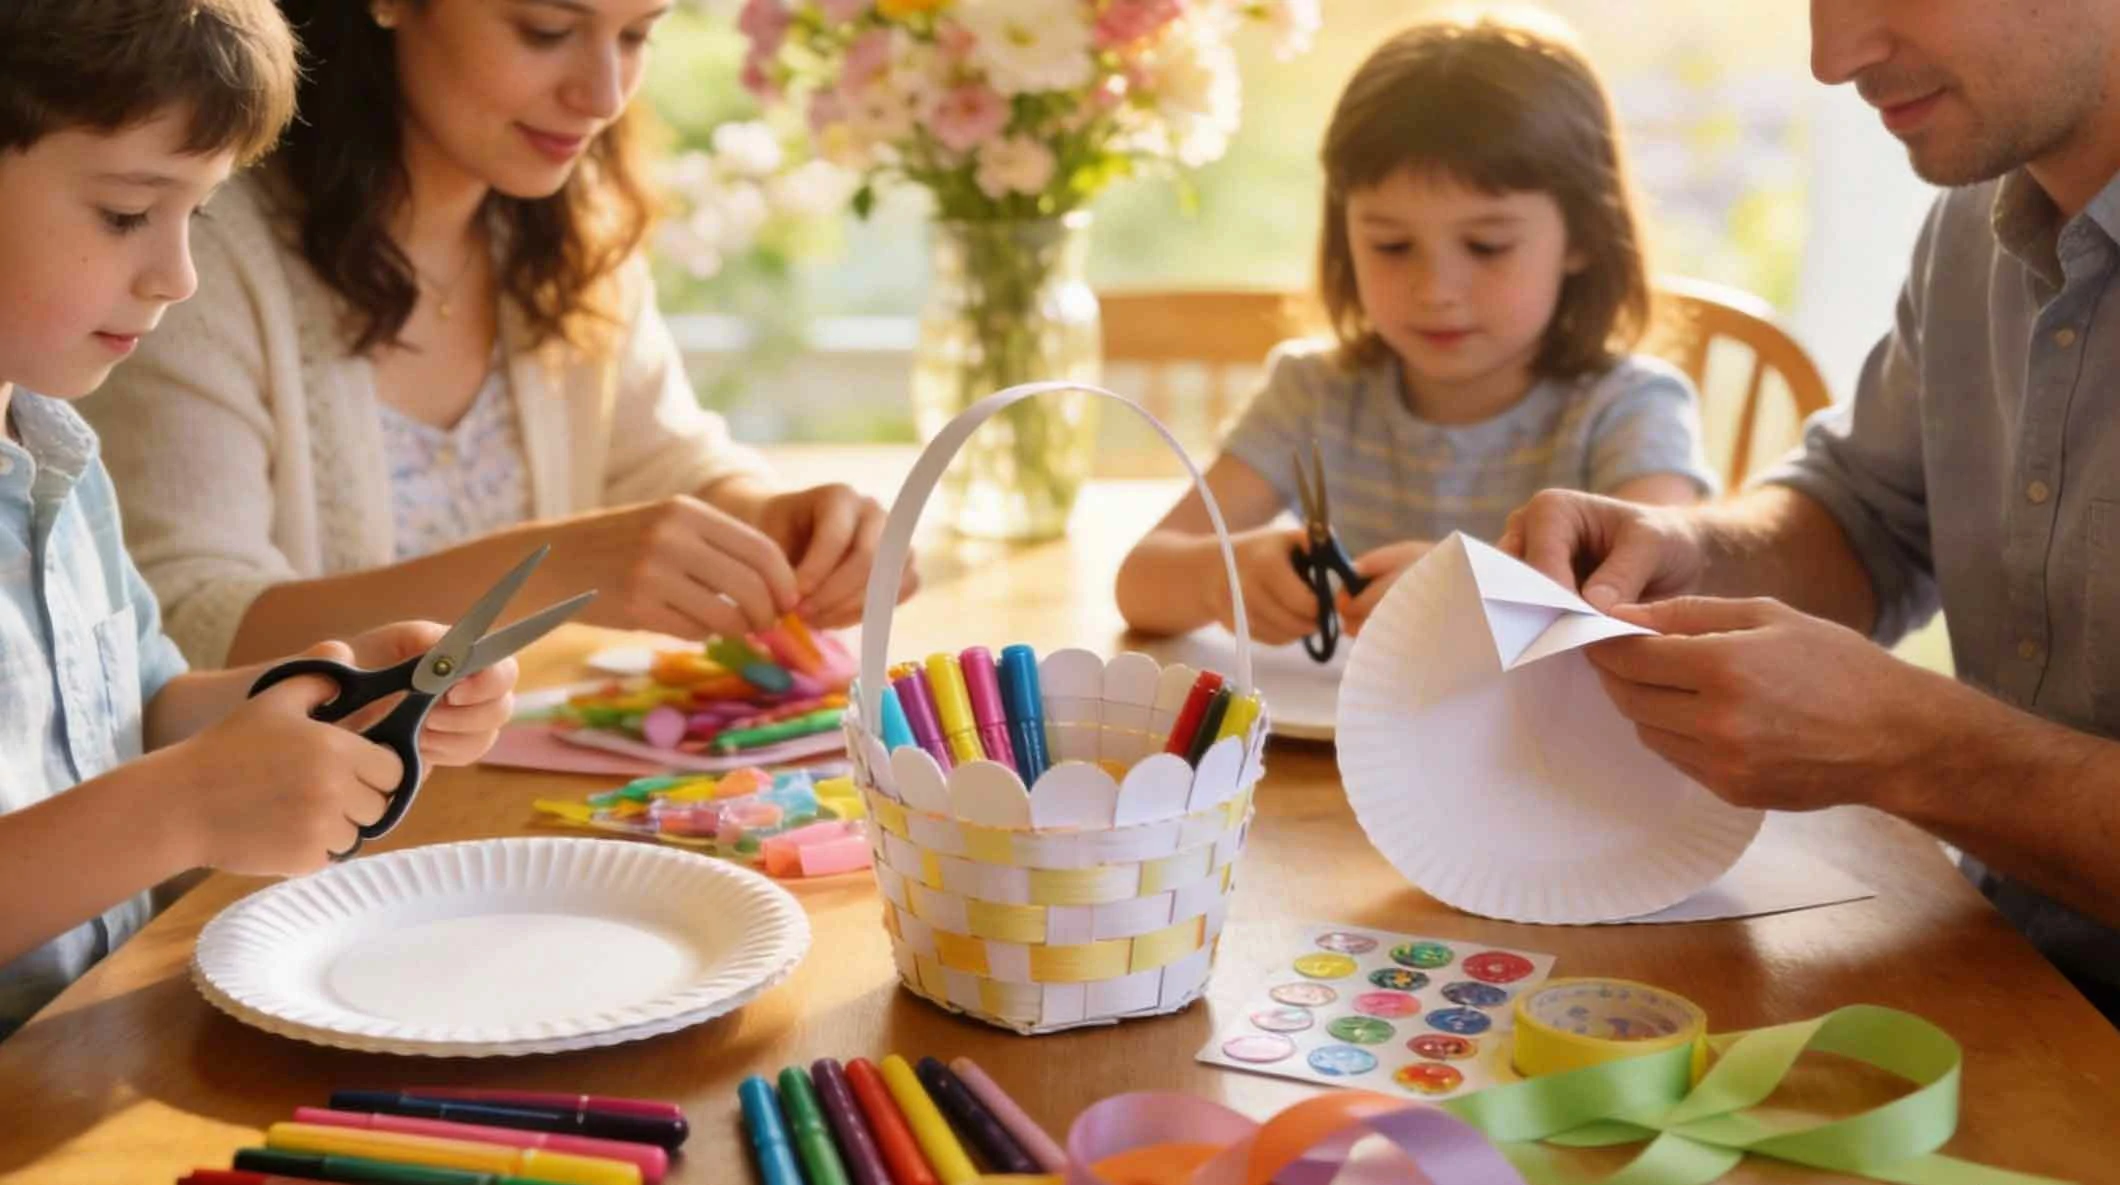
Welcome to the wonderful world of DIY Easter crafts! Creating an adorable paper plate basket is more than just a fun activity; it's a gateway to creativity, a fine motor skill exercise for little hands, and a wonderful way to craft personalized Easter decor or baskets for the big hunt. This simple yet charming project transforms an everyday paper plate into a beautiful, woven basket perfect for holding Easter eggs, small treats, or spring flowers. Unlike complex weaving, this method is easy to master for crafters of all ages, making it an ideal family project. In this comprehensive guide, we'll walk through every step, offer creative variations, and provide tips to ensure your paper plate basket weaving is not only successful but utterly delightful.
1. Gathering Your Basket Weaving Supplies
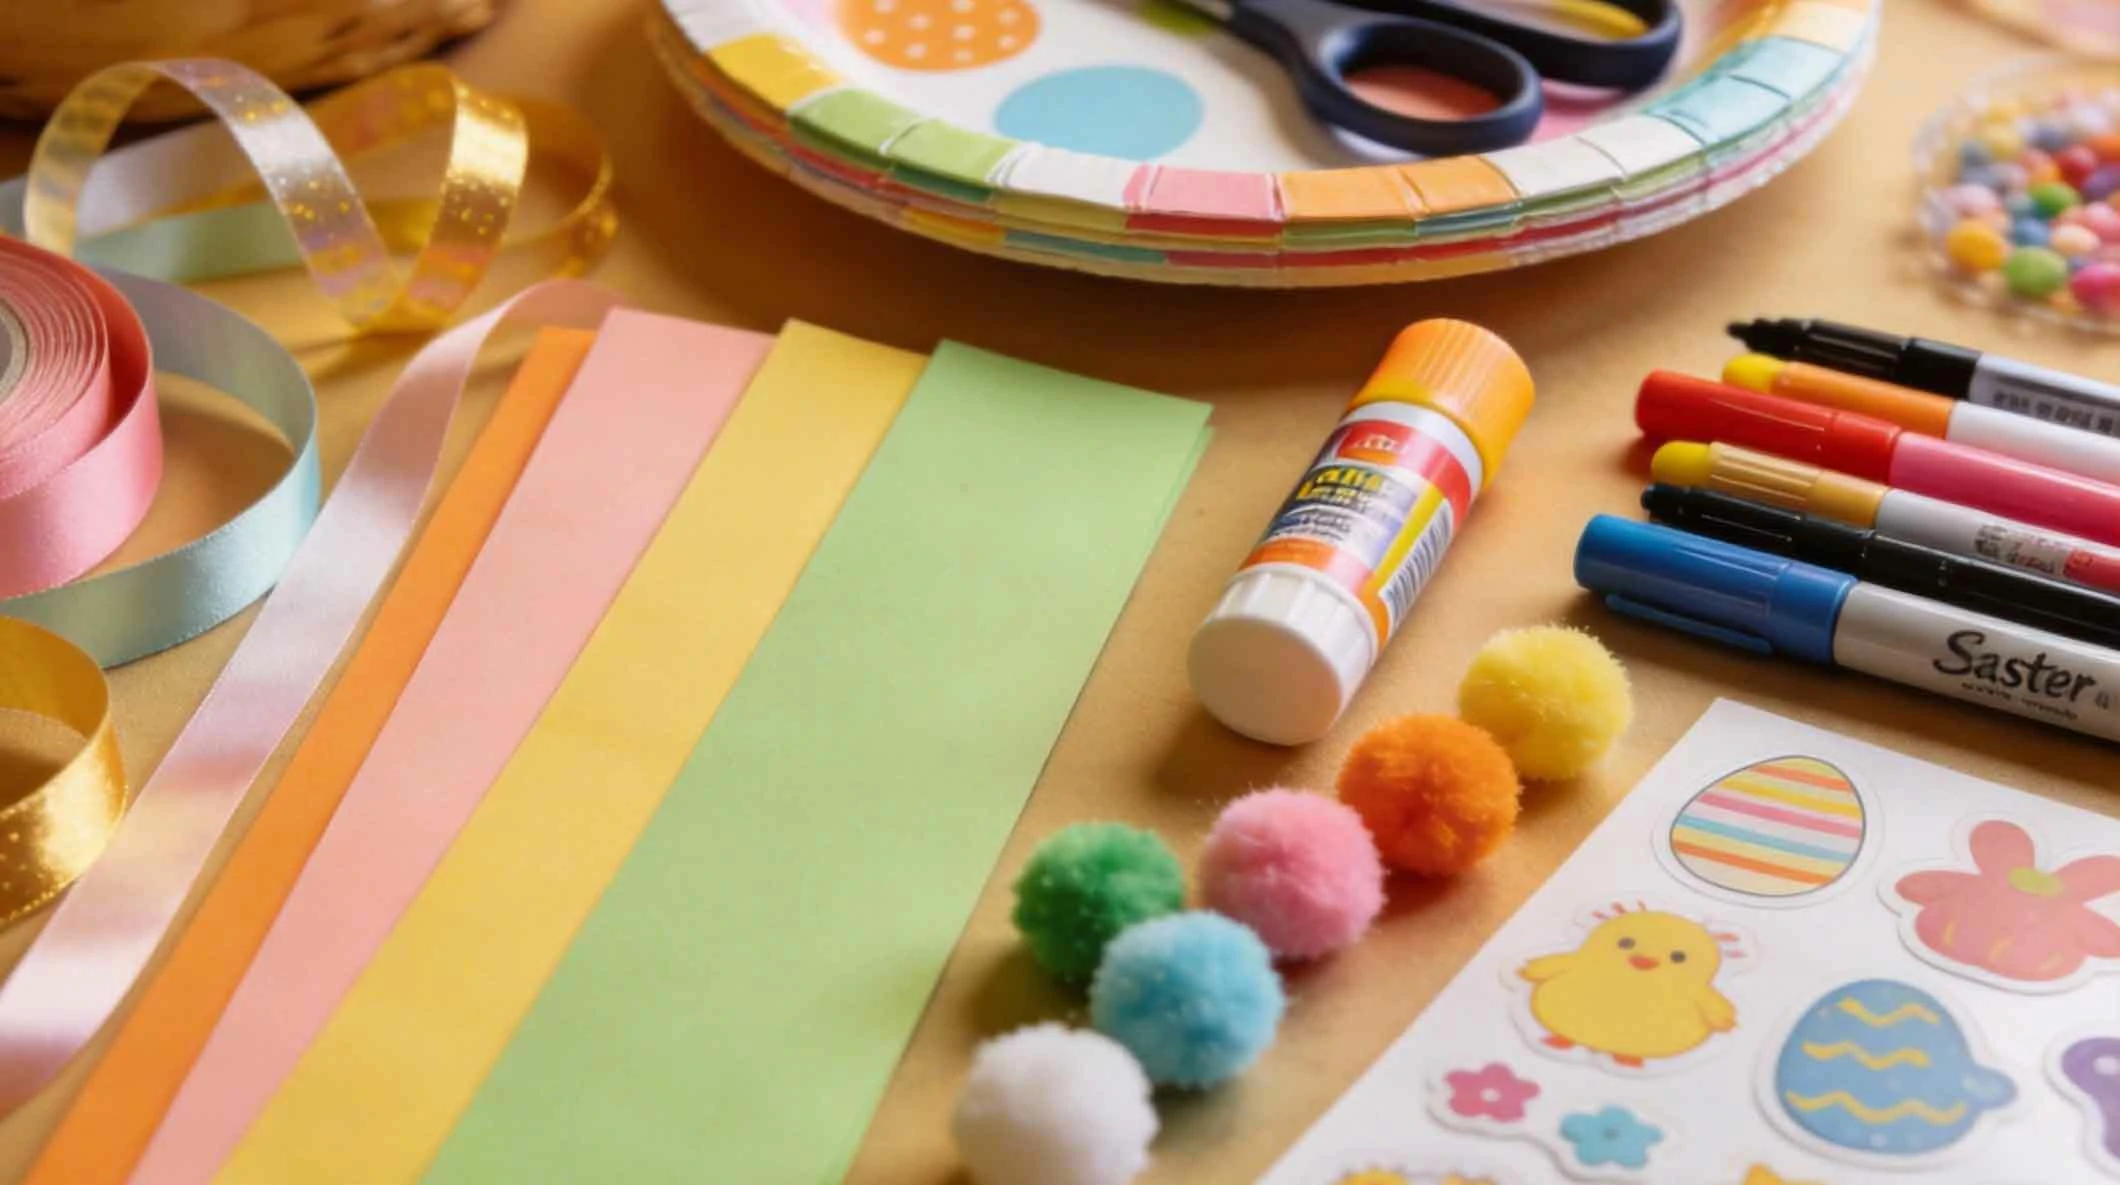
Before you begin your weaving adventure, it's essential to have all your materials ready. The beauty of this project lies in its simplicity and the potential for customization based on what you have at home.
📌 1. The Core Foundation
The primary material is, of course, a paper plate. Standard 9-inch or 10-inch plates work best. Choose sturdy, plain white plates for painting, or use colored plates for an instant vibrant base. You will also need a pair of sharp scissors for cutting and a ruler for measuring.
📌 2. Weaving and Structural Elements
For the weaving strips, you can use a variety of materials. Pre-cut construction paper strips (about 1 inch wide) are classic and easy for kids. For a more durable or textured look, consider using ribbon, streamers, or even folded pages from colorful magazines. A stapler or clear tape is crucial for securing the basket's handle and the ends of your weaving strips.
📌 3. Decoration and Personalization Toolkit
This is where the fun truly begins! Gather markers, crayons, or paint to decorate the plate itself before weaving. Stick-on gems, glitter glue, pom-poms, and Easter-themed stickers are perfect for adding sparkle and character. Don't forget a glue stick or liquid glue for attaching these embellishments securely.
Advertisements
2. Preparing Your Paper Plate Loom
A proper foundation is key to a stable basket. Preparing the "loom" correctly will make the weaving process smooth and enjoyable.
🔪 1. Creating the Basket Frame
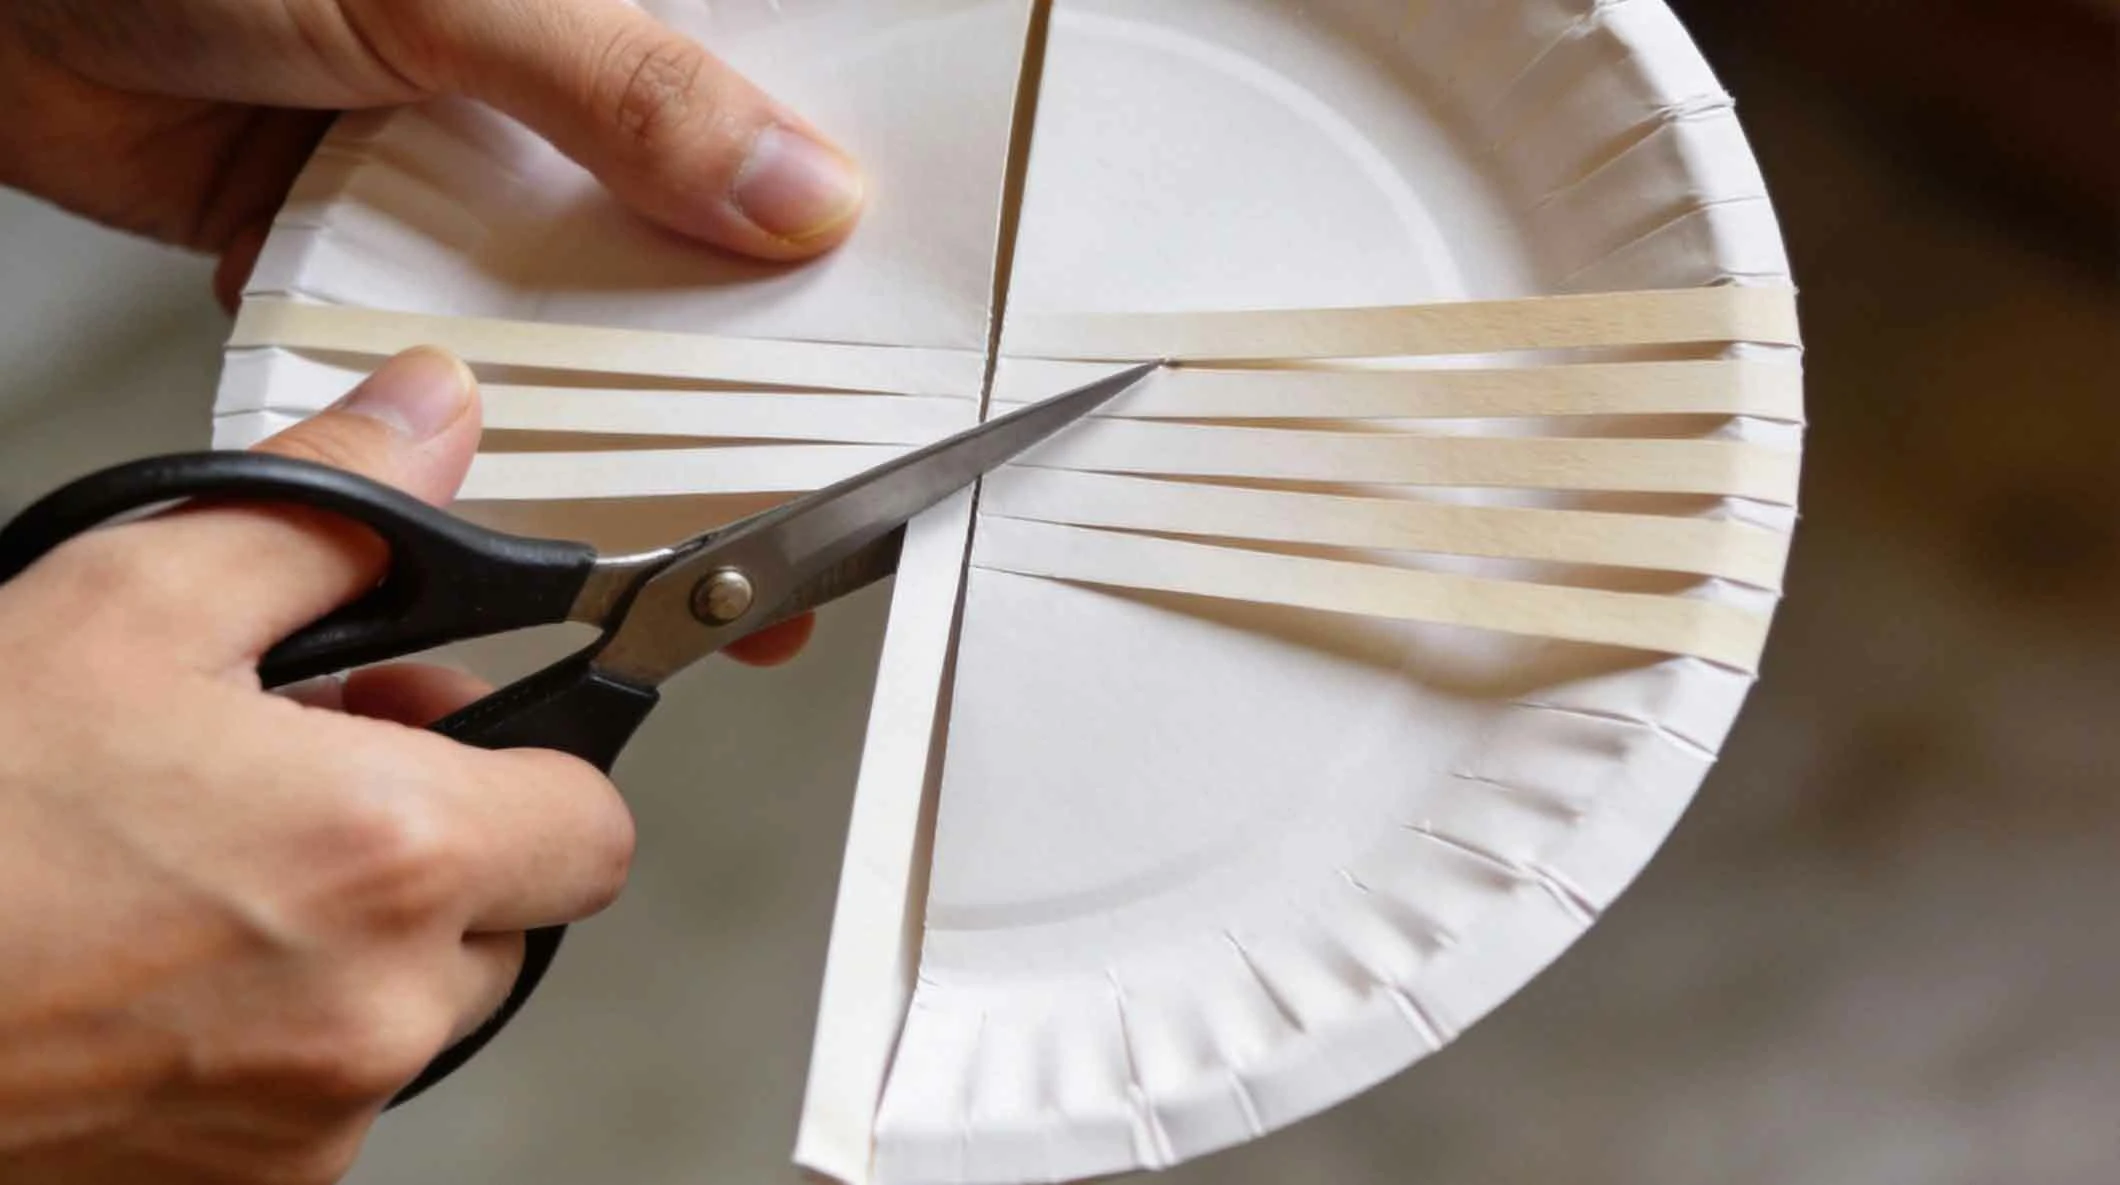
First, fold your paper plate in half neatly. This fold line will guide your cuts and help form the basket's shape. Ensure the plate's bottom (the curved side) is on the outside, as this will become the interior of your basket.
🔪 2. Cutting the Warp Strips
Along the folded edge, use your ruler and scissors to make parallel cuts from the rim towards the center of the plate. Stop cutting about 1.5 to 2 inches from the center flat part of the plate. You should make an odd number of cuts (like 11, 13, or 15) to make the over-under weaving pattern work seamlessly. The uncut center area becomes the basket's bottom.
🔪 3. Unfolding and Shaping
Carefully unfold the plate. You now have a series of vertical strips (the "warp") around the entire plate. Gently push the strips upward to start forming the basket's walls. You can lightly crease them to help them stand up.
3. The Weaving Process Step-by-Step
Now for the main event—the weave! This process is rhythmic and satisfying, creating the classic woven pattern that gives the basket its strength and charm.
🧺 1. Starting the First Weft Strip
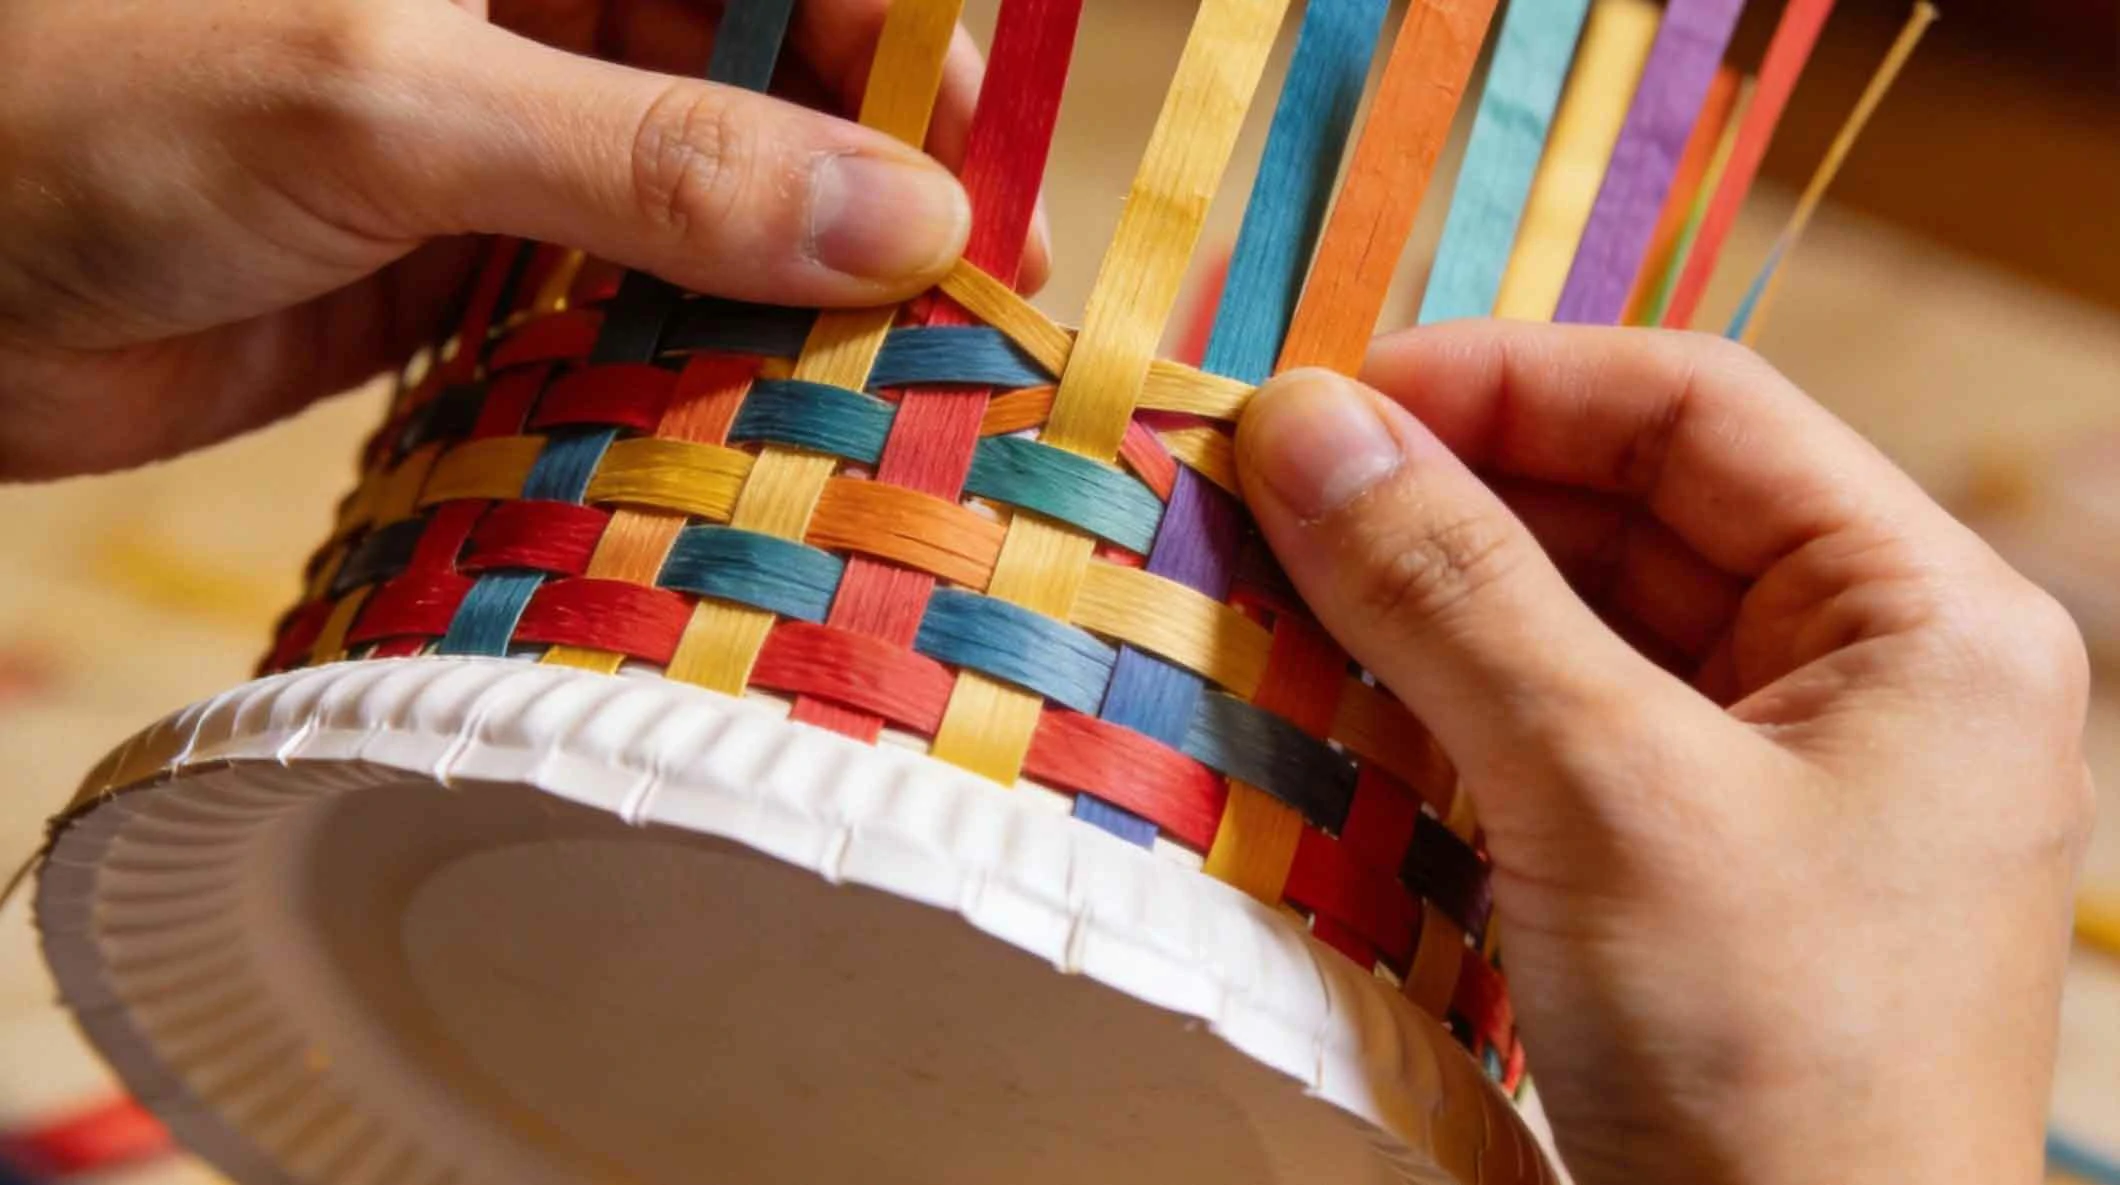
Take your first weaving strip ("weft"). Weave it over and under the vertical paper plate strips, going all the way around the plate. Keep the strip close to the bottom center. When you complete the circle, overlap the ends and secure them with a piece of tape or a dab of glue on the inside.
🧺 2. Building the Basket Walls
Add your second strip. To create a checkerboard pattern, if you started the first strip by going "over" a particular plate strip, start the second strip by going "under" that same plate strip. Push this second strip snugly against the first one. Continue this process, alternating the starting pattern with each new strip, to build the woven wall upwards.
🧺 3. Securing and Finishing the Weave
As you add strips, periodically push them down tightly together to eliminate gaps. Continue weaving until you've reached about 1 inch from the top of the paper plate strips. To finish, you can fold the ends of the vertical plate strips over the last weft strip and glue or tape them down on the inside for a clean edge.
Advertisements
Advertisements
You May Have Missed

Flight attendants share their most memorable travel experiences

This Elegant Country Cottage is Movable! Let’s Find out What’s Inside...