4. Adding the Basket Handle
Advertisements

A handle not only makes the basket functional but also adds to its adorable aesthetic. There are several ways to create one.
🎀 1. The Simple Paper Handle
Cut a long, sturdy strip of cardboard or a folded piece of construction paper. Staple or tape each end to the inside rim of the basket on opposite sides. For extra strength, reinforce the attachment points with extra tape on the inside.
🎀 2. The Ribbon or Pipe Cleaner Handle
For a more decorative look, use a thick ribbon, a bunch of curling ribbon, or colorful pipe cleaners. Twist pipe cleaners together for a stronger handle. Thread the ends through the weave near the rim and twist them securely on the inside, or attach them with strong tape.
🎀 3. The Braided Handle
Create a beautiful, sturdy handle by braiding three long strips of construction paper or ribbon together. Secure the braid's ends with glue before attaching it to the basket. This adds a wonderful textured element to the finished piece.
5. Decorating Your Masterpiece
This is where your basket gets its personality and becomes truly "adorable." Encourage creativity and personal expression.
✨ 1. Pre-Weave Decoration
Before you even start cutting, decorate the front of the paper plate. Paint it in pastel Easter colors, draw patterns, or create a scenic background like a blue sky with clouds. This will peek through the weave, adding depth and color.
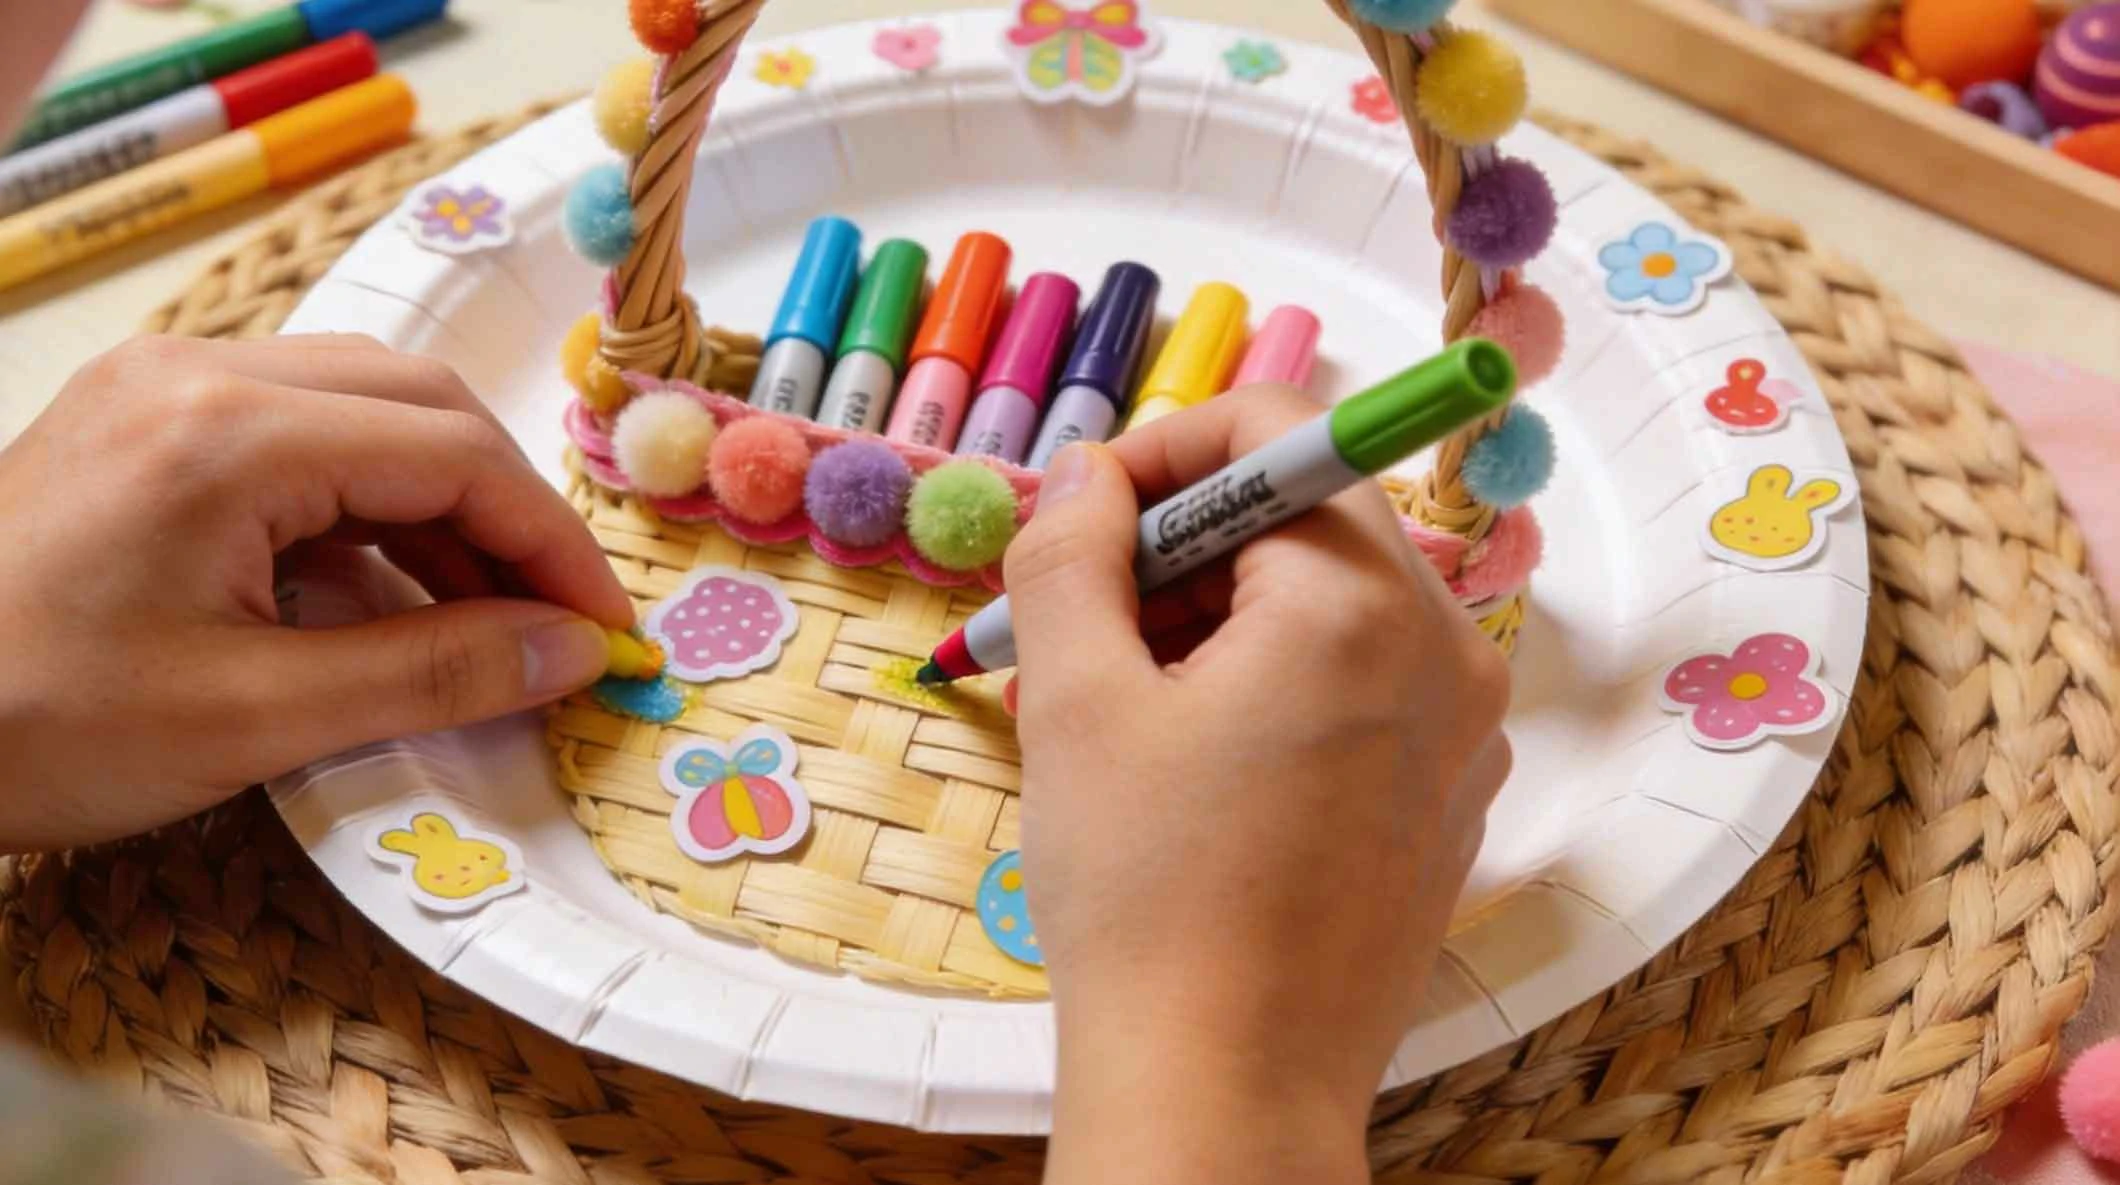
✨ 2. Embellishing the Weave and Rim
Glue small pom-poms along the top rim or at the intersections of the weave. Add stick-on gems or sequins for sparkle. You can also use markers to add patterns directly onto the woven paper strips.
✨ 3. Thematic Easter Touches
Attach paper cut-outs of bunnies, chicks, or carrots to the side of the basket. Add a fluffy cotton ball tail for a bunny. Tie a small bow around the base of the handle. Write the child's name on the basket for a personalized touch.
Advertisements
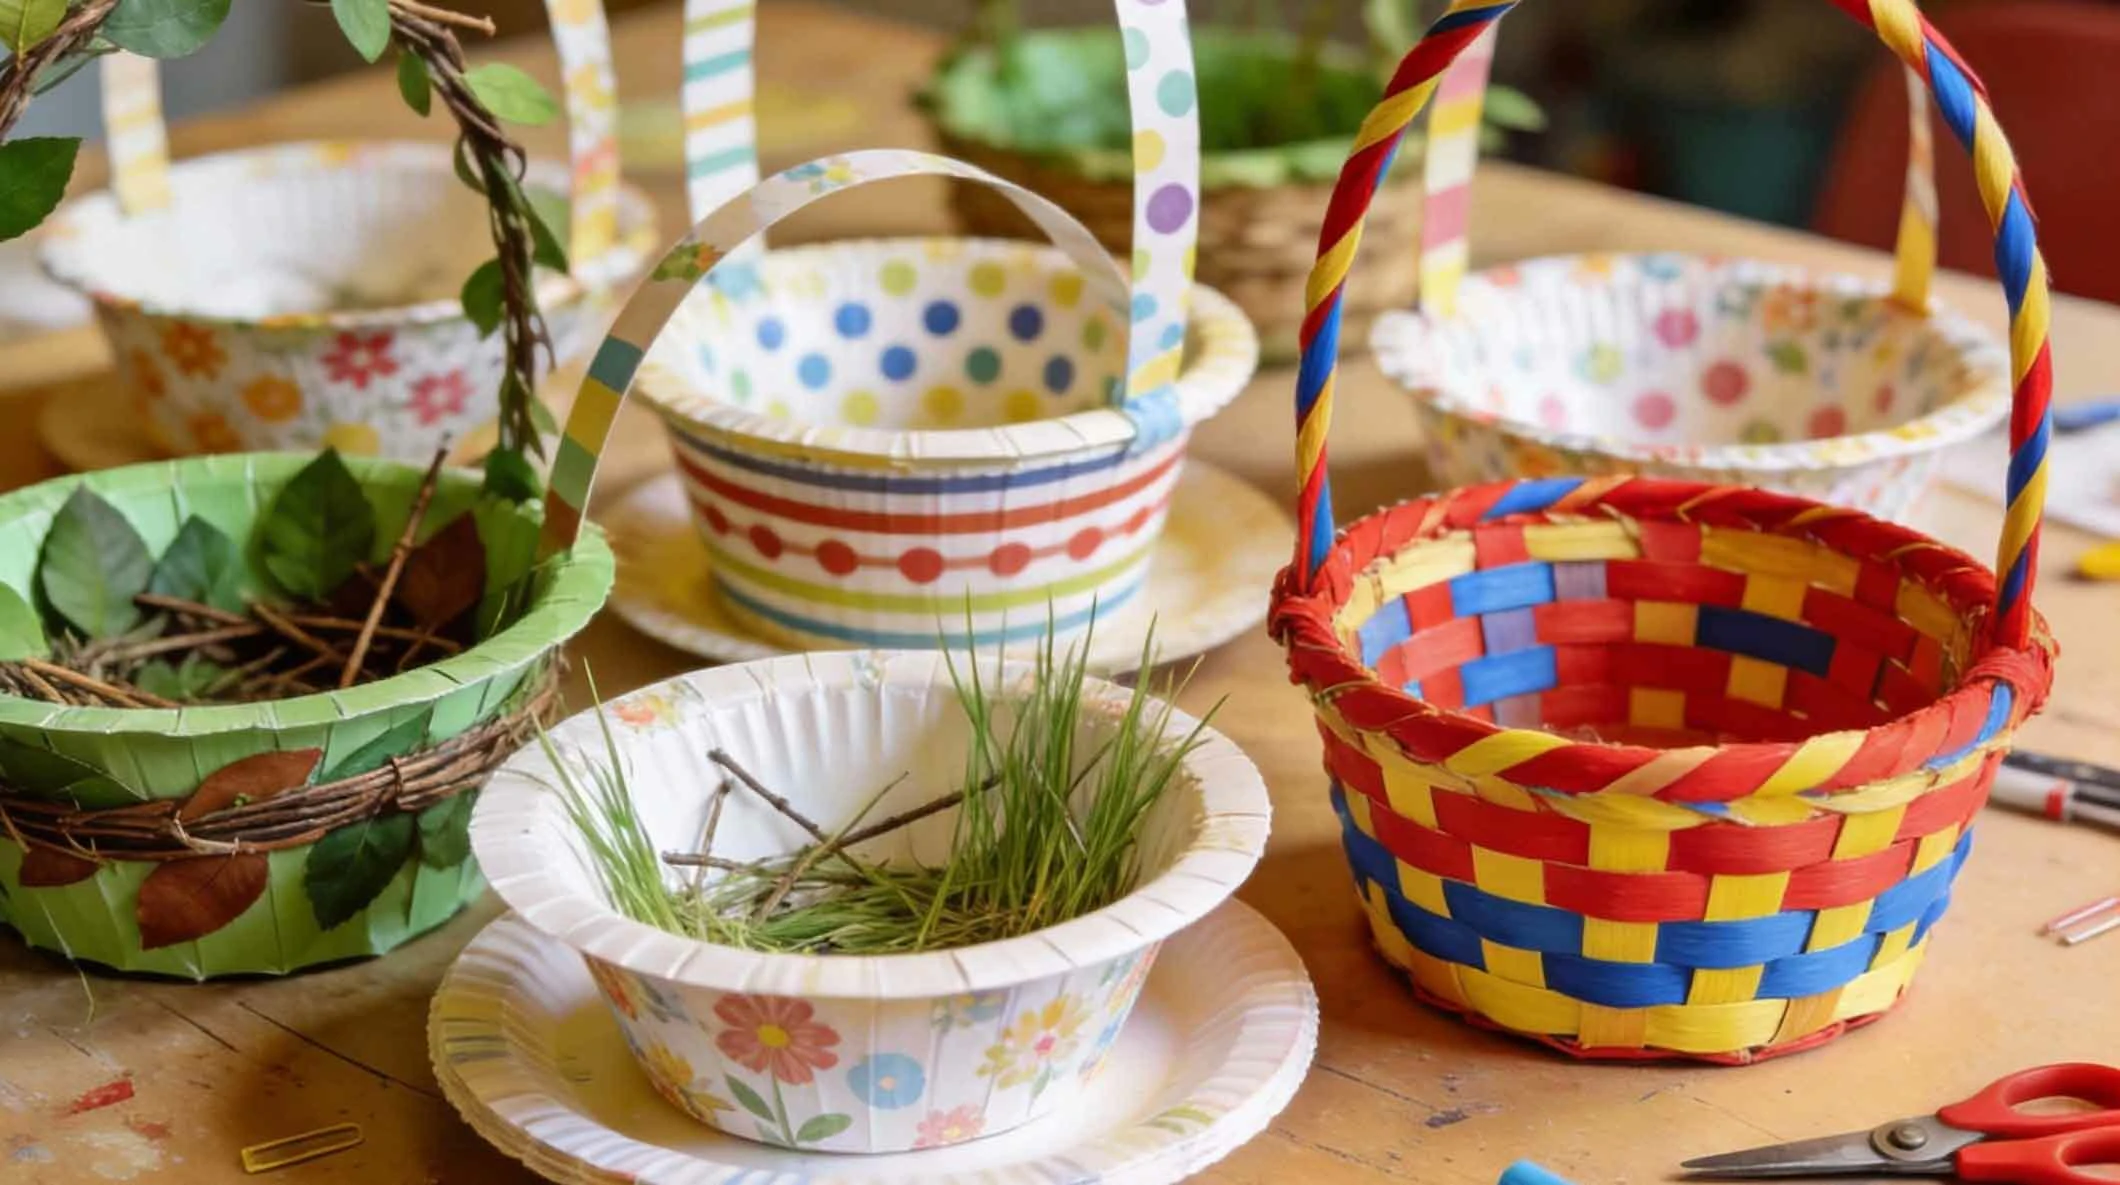
6. Creative Variations and Ideas
Once you've mastered the basic technique, try these variations to keep the craft exciting and fresh.
🎨 1. Nature-Inspired Basket
Use shades of green and brown paper for weaving to create a "nest" basket. Decorate with paper leaves, flowers, or attach small plastic insects for a garden theme.
🎨 2. Patterned Paper Plates
Start with patterned paper plates (like polka dots or stripes) from the party supply store. The pattern will create a vibrant, dynamic background for your weave, requiring less additional decoration.
🎨 3. Advanced Weaving Techniques
For older kids or adults, experiment with different weaving patterns. Try using two different colored strips simultaneously, or create a chevron pattern by changing the over-under sequence in a planned way.
7. Tips for Success and Common Questions
A few expert tips can make the difference between a good basket and a great one.
💡 1. Ensuring Stability
If your basket feels wobbly, reinforce the bottom by gluing a second, uncut paper plate to the inside bottom. For very heavy treats, consider using a cardboard plate as the base.
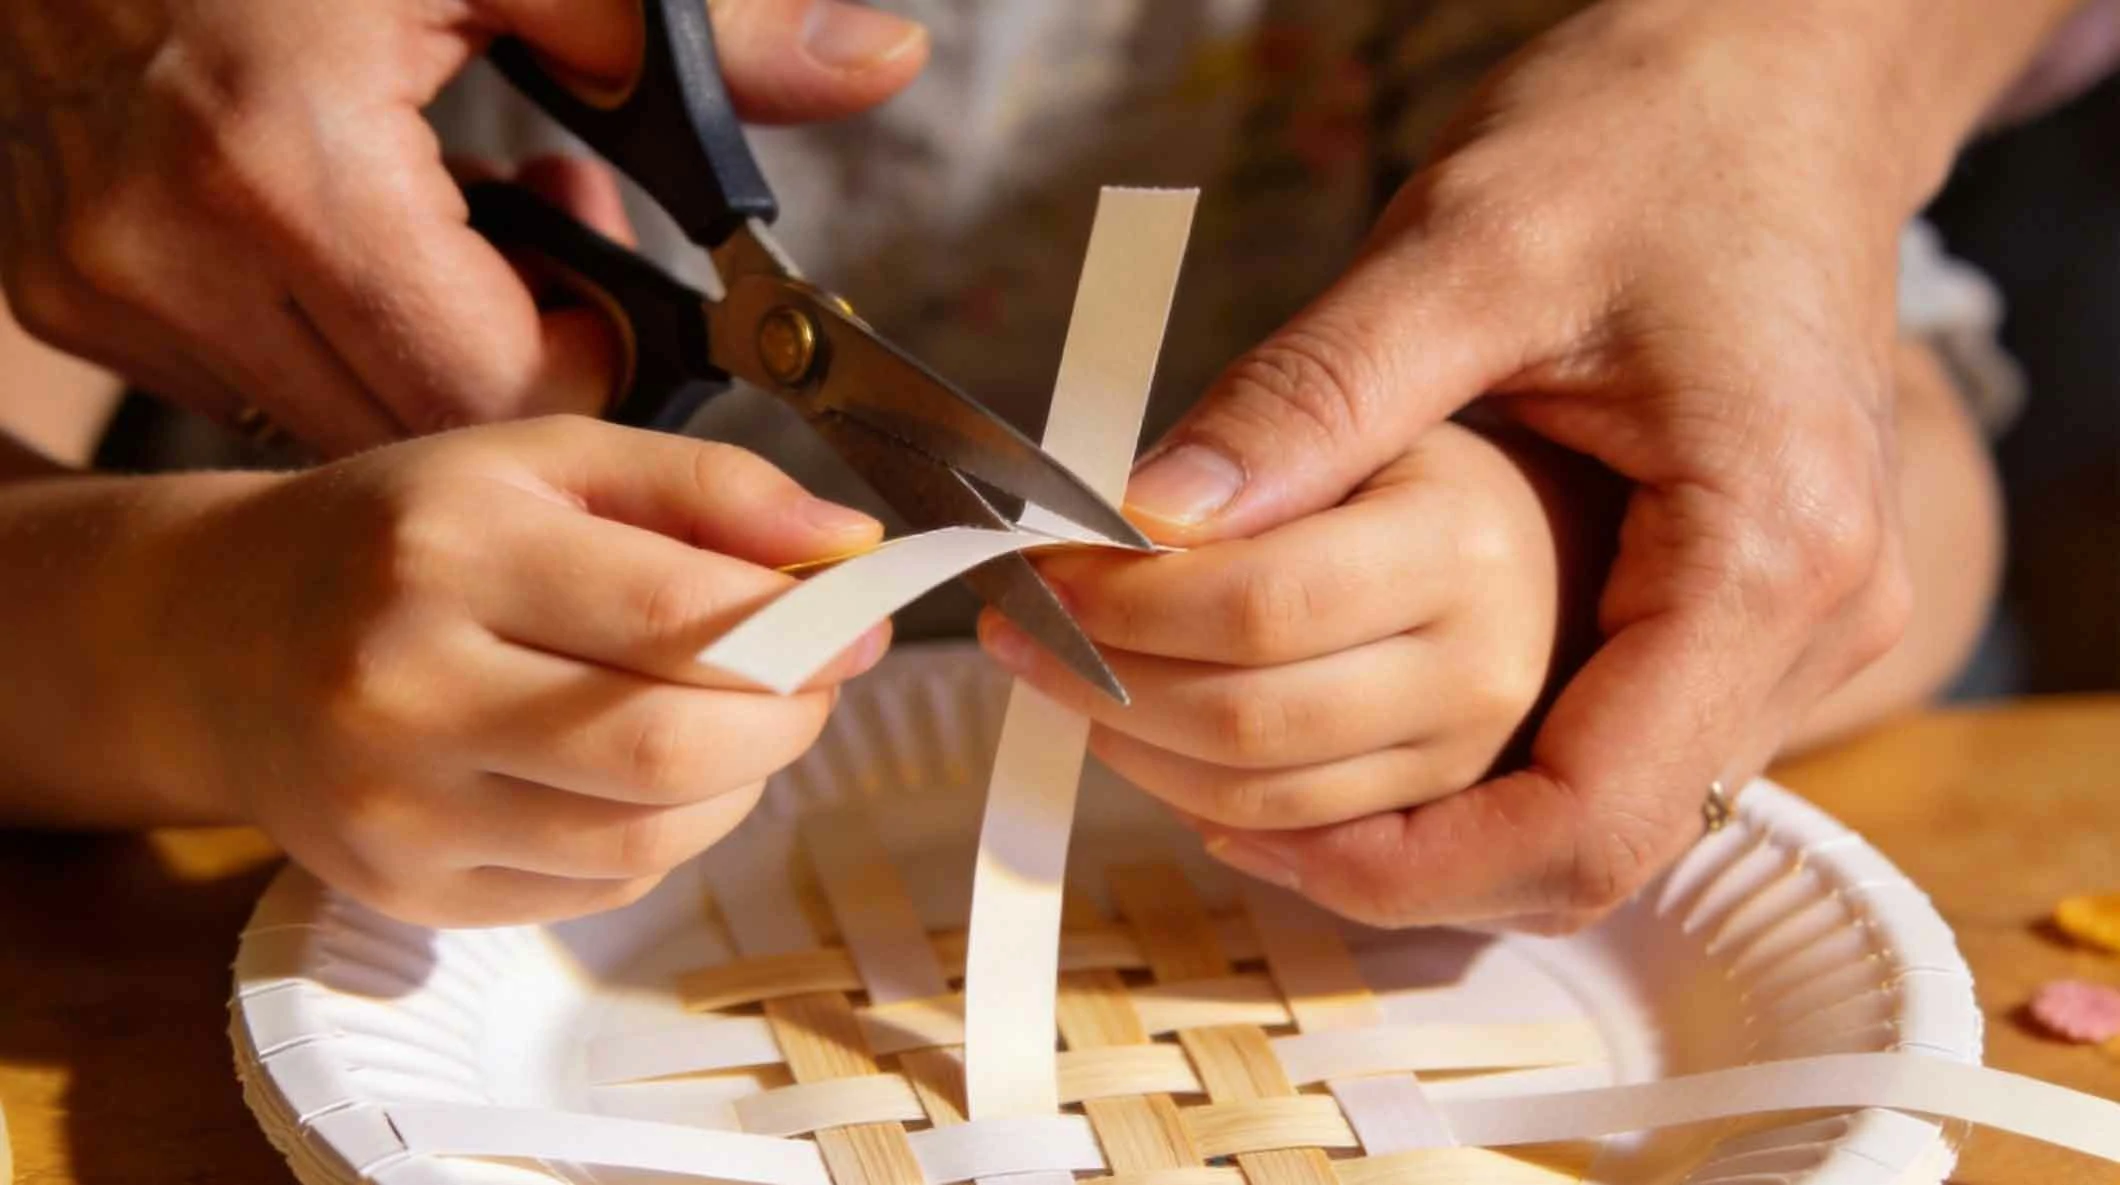
💡 2. Ideal Age Group and Supervision
This craft is excellent for ages 5 and up. Younger children will need help with cutting the plate strips and starting the weave. Always supervise scissor use. Pre-cutting the plates and strips can make the activity faster and more accessible for little ones.
💡 3. Making it a Learning Activity
Discuss patterns (over-under, checkboard), colors, and textures. Weaving also naturally teaches patience, sequencing, and hand-eye coordination. It's a perfect STEAM activity disguised as fun.
Advertisements
Advertisements
You May Have Missed

Funny wedding photos make people feel sorry for the bride and groom
How long are your pinky and ring fingers? Finger longth reveal your personality